Using the scan art I did a couple weeks ago, I created the following large poster:
Details
Using the scan art I did a couple weeks ago, I created the following large poster:
Details
Using Photoshop clipping masks, you can create displays for your art work. The black squares are vector squares all on the same layer (if you want to display multiple images, use multiple layers). I also chose to place slight drop shadow on each of the rectangles.
Template
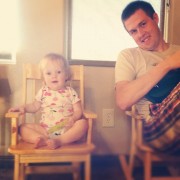
I placed the picture below over the top of the rectangles I created and then on the layers pallet, I chose the image layer and elected to create a clipping mask.
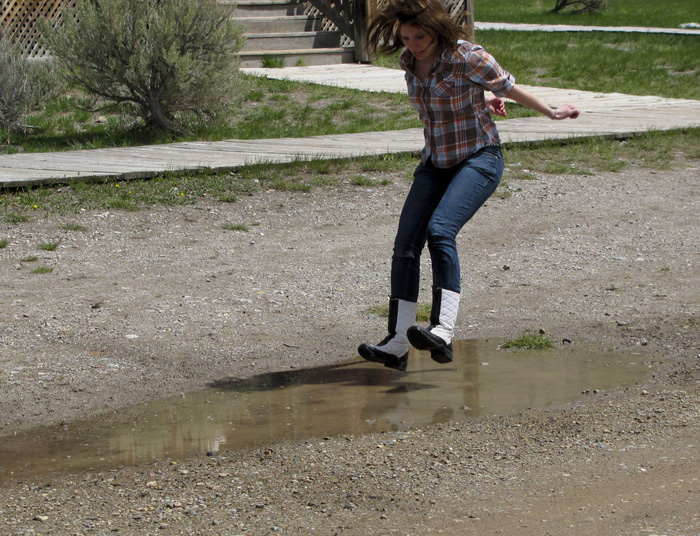
Jump
And the result is . . .
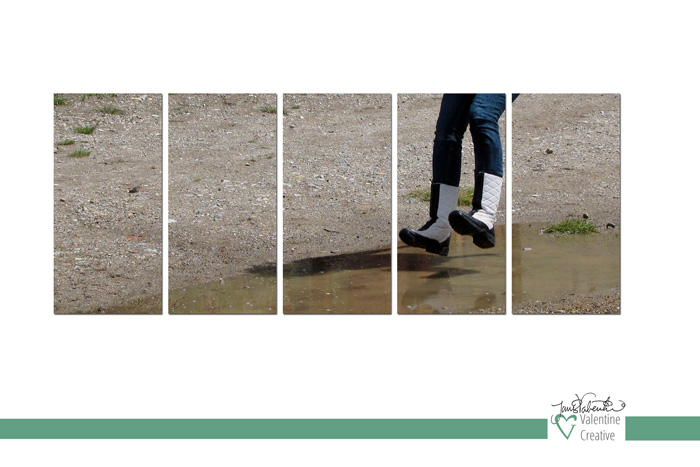
Final Product
Really the options are endless. You can use the same process to insert an image into text or other shapes. Below, I used the concept of a barcode to create a display template:
Barcode Template
Then I chose my image:
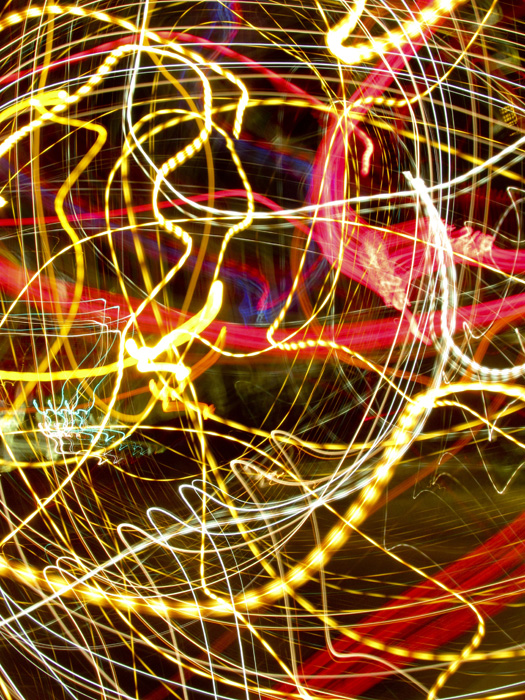
Light Swirls
Create the clipping mask and:
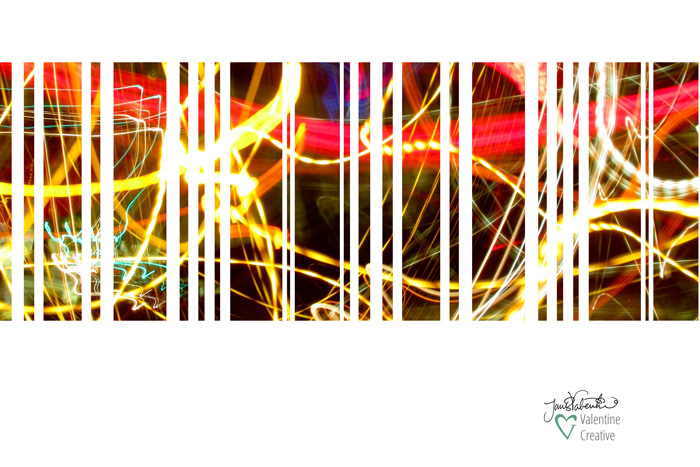
Final Product Two
Presto! Creative Display Templates.
FYI
The tracking information for the images I used in this post can be found here and here.
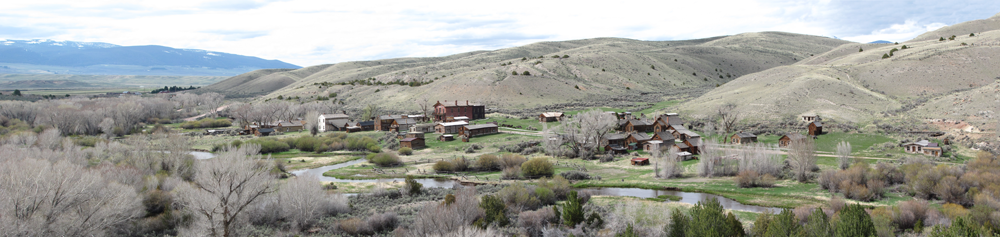
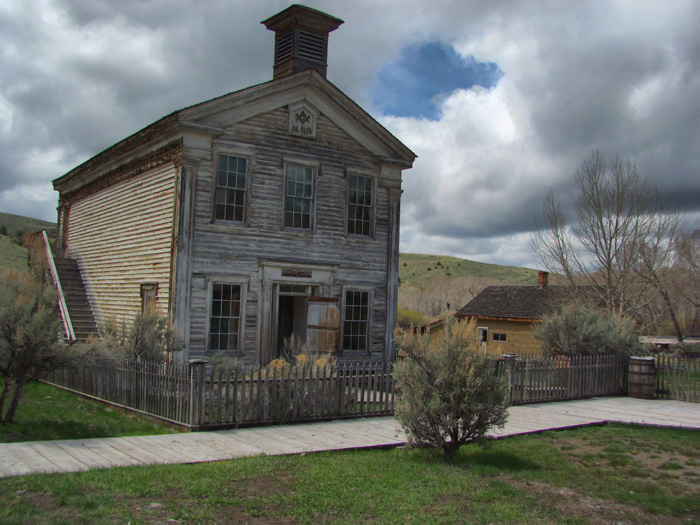
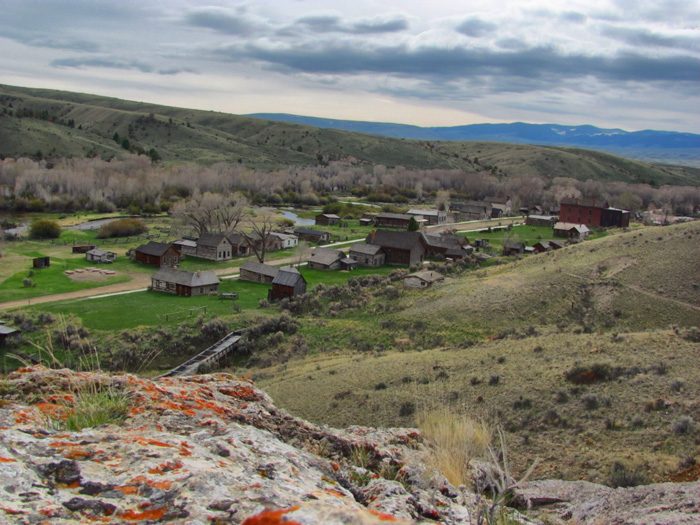
Bannack
May 25, 2011; 4:28 PM; Bannack, MT;
F/4.0 SHUTTER: 1/500 ISO: 80 Canon Powershot SX120 IS
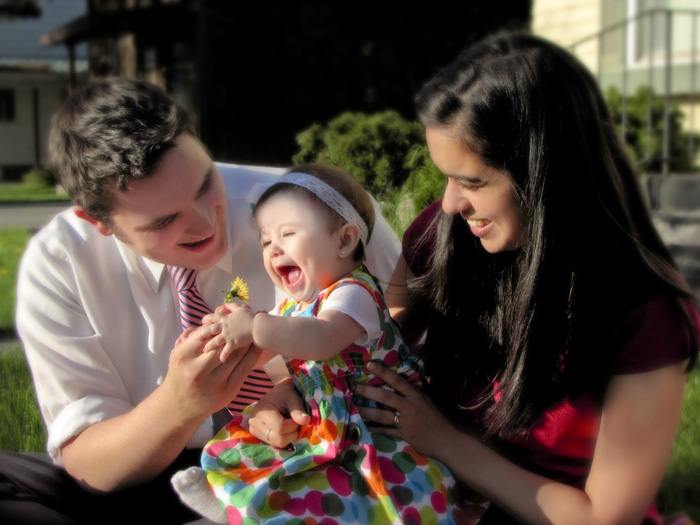
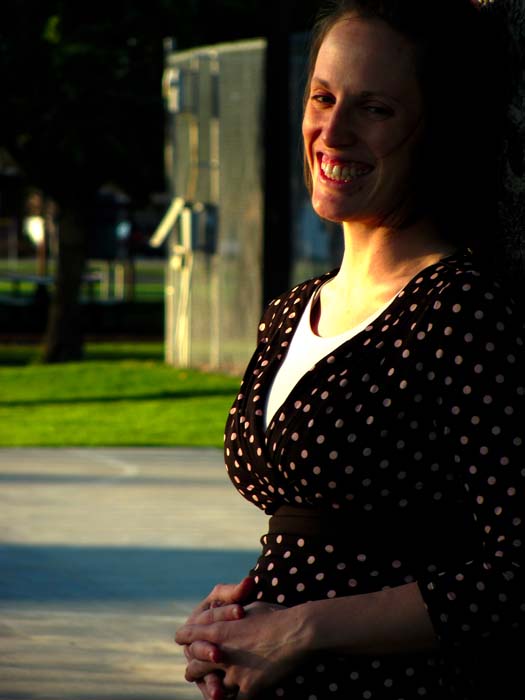
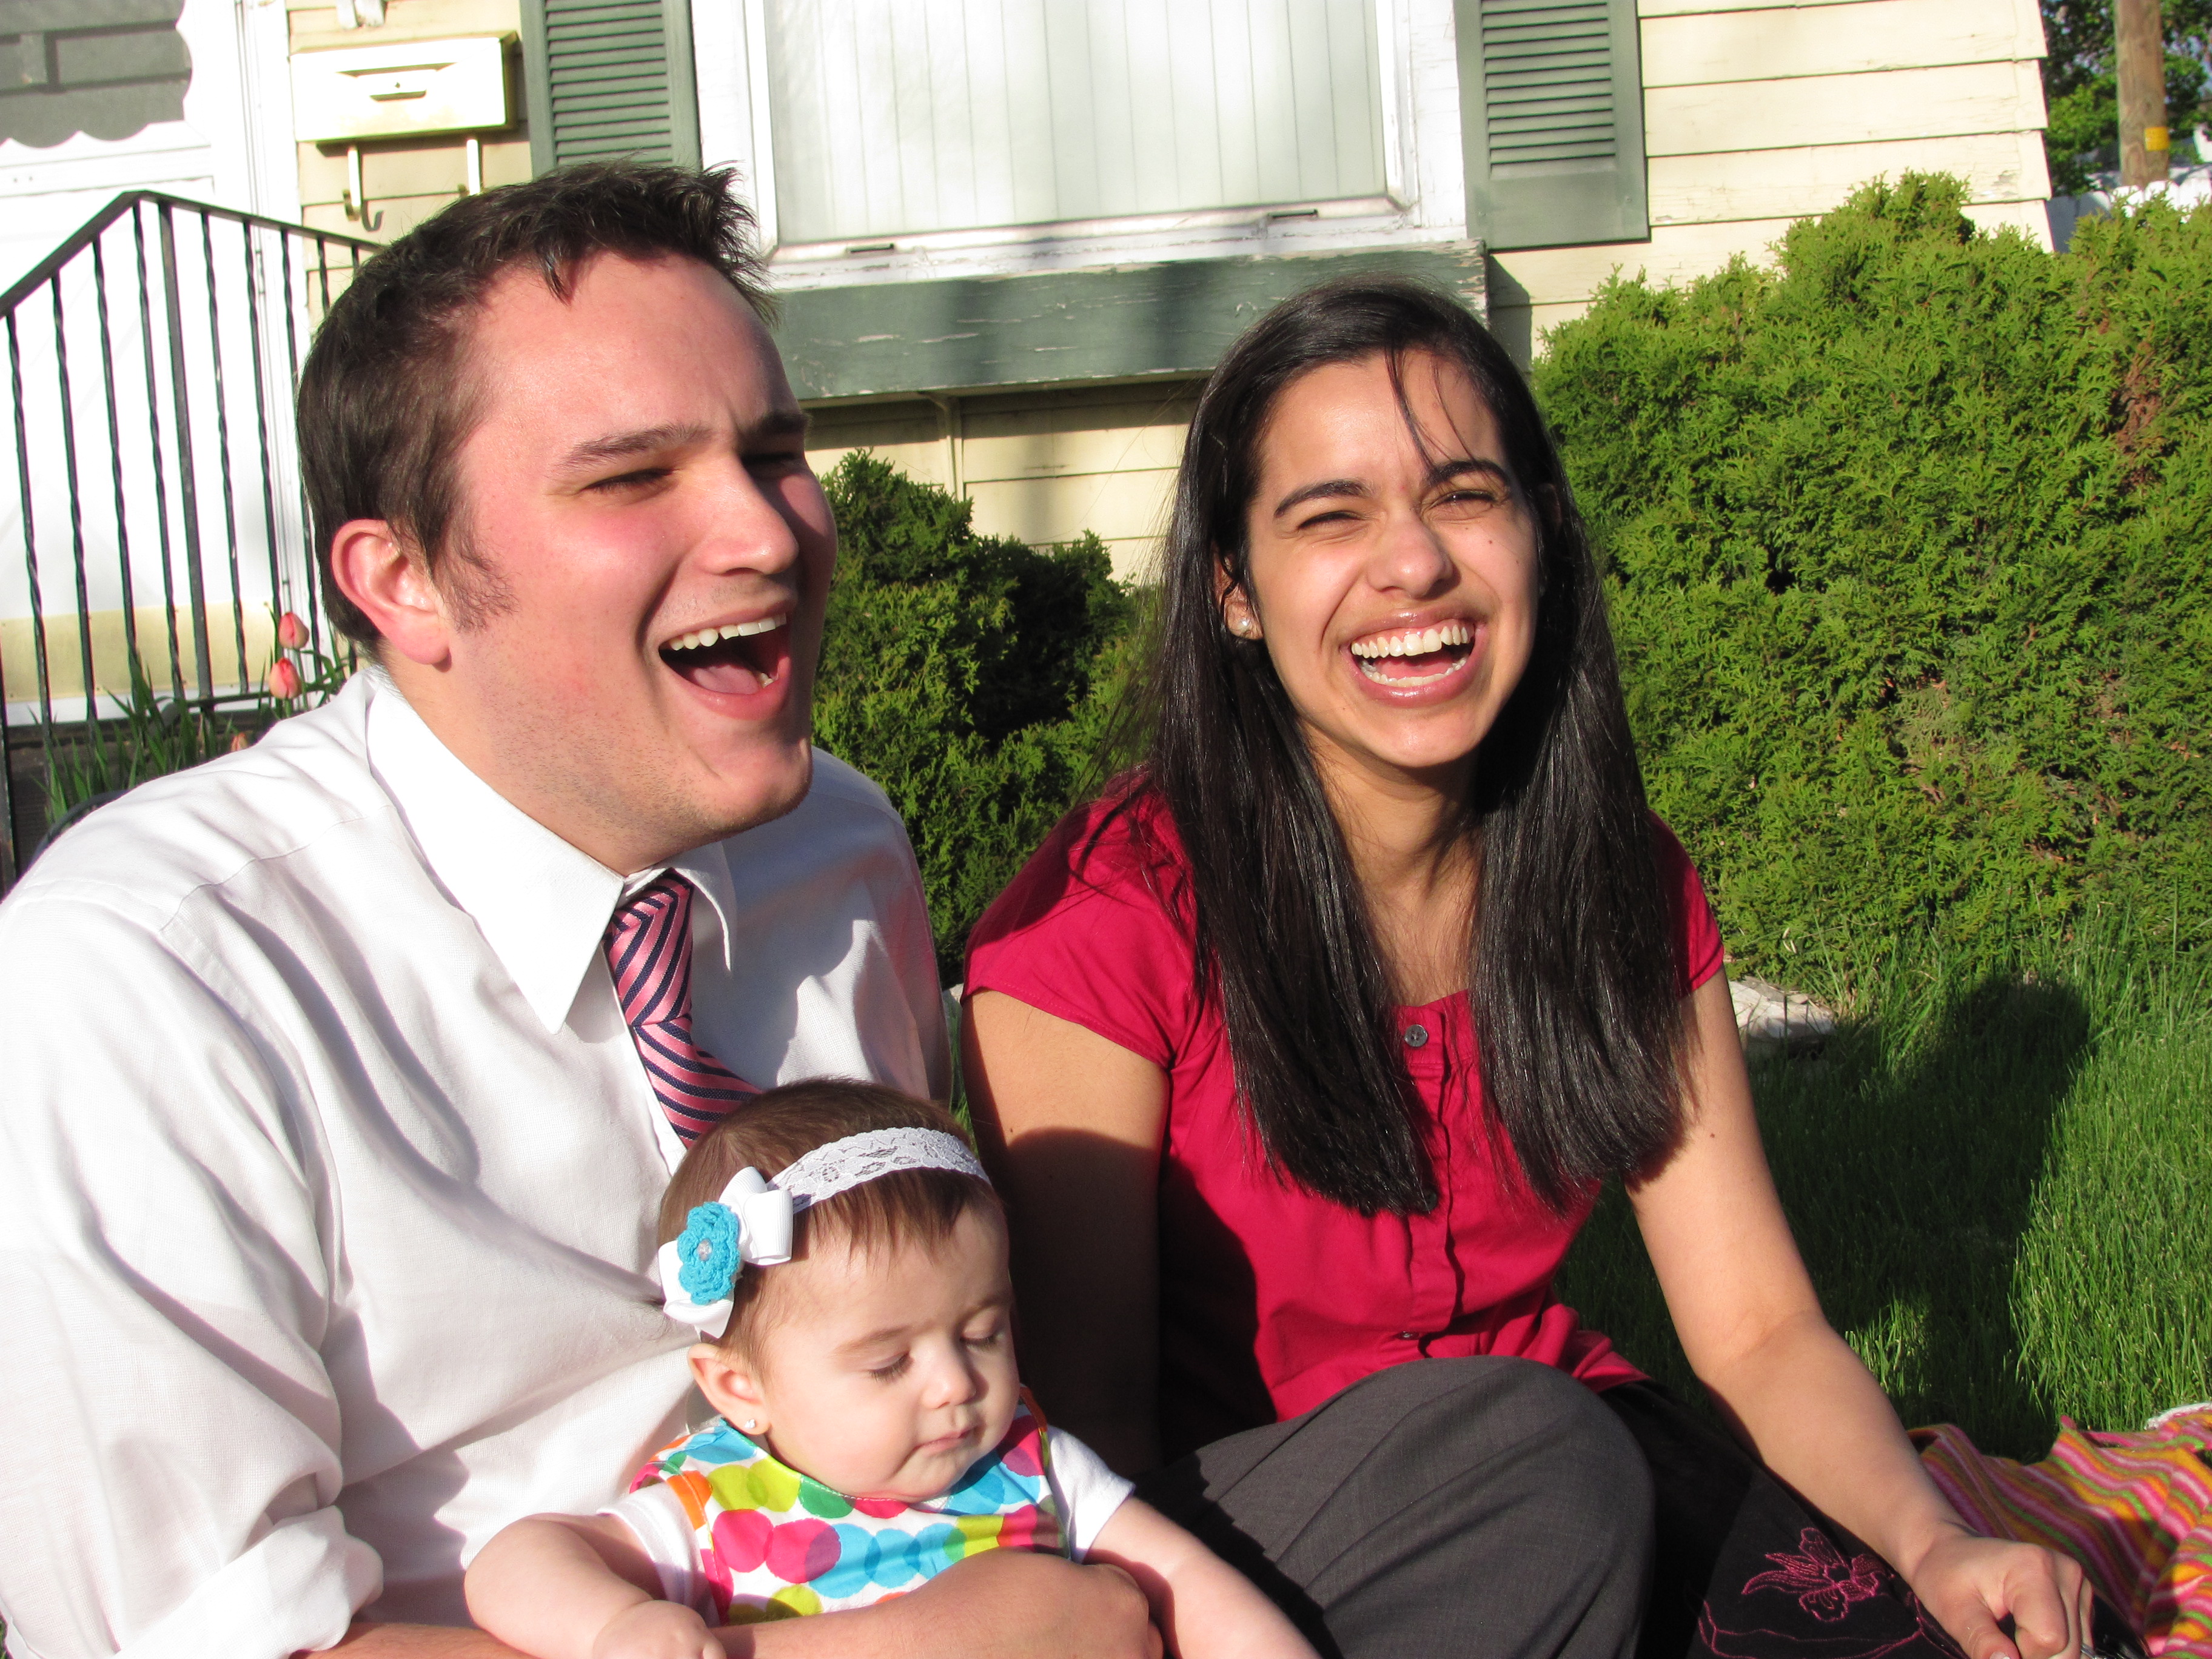
Family Night
May 22, 2011; 7:22 PM Rexburg, Idaho
F/3.5 SHUTTER: 1/1600 ISO: 100 Canon Powershot SX120 IS
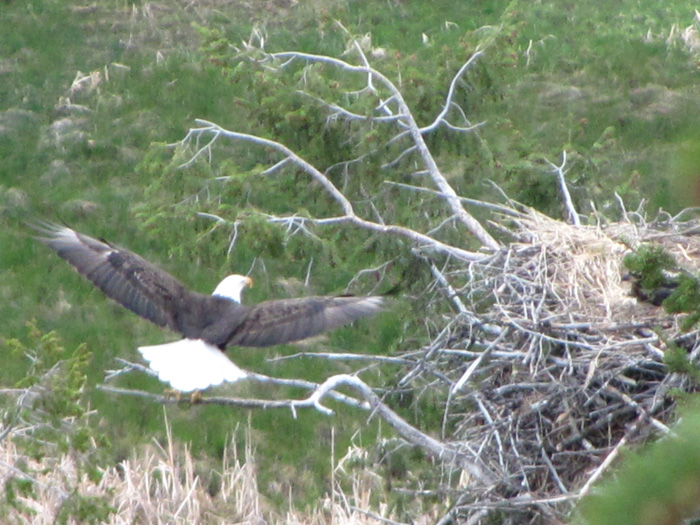
Eagle in Swan Valley
May 14, 2011; 9:16 AM, Swan Valley, Idaho
F/4.3 SHUTTER: 1/200 ISO: 200 Canon Powershot SX120 IS
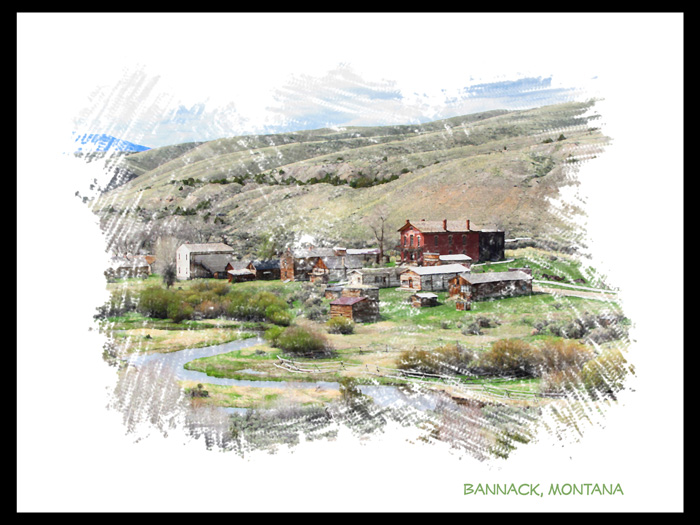
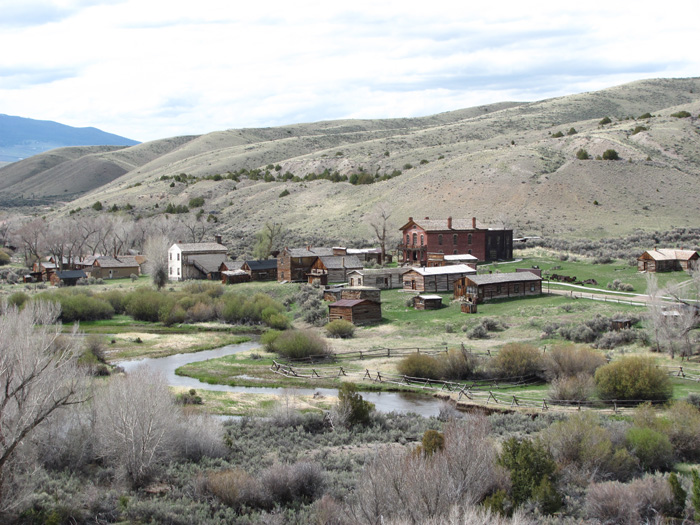
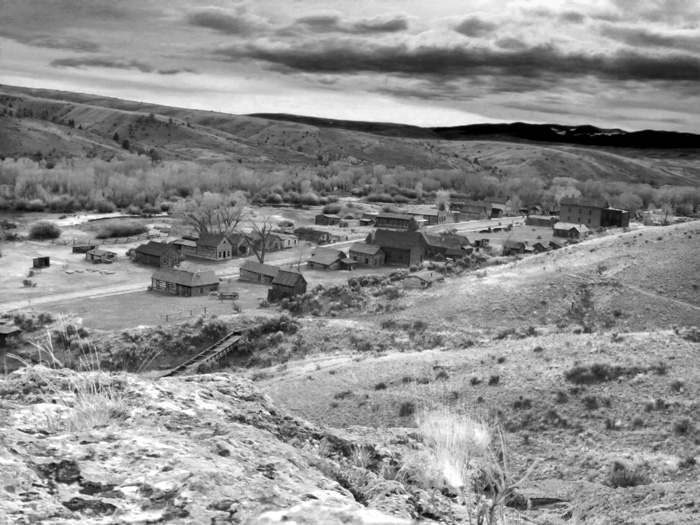
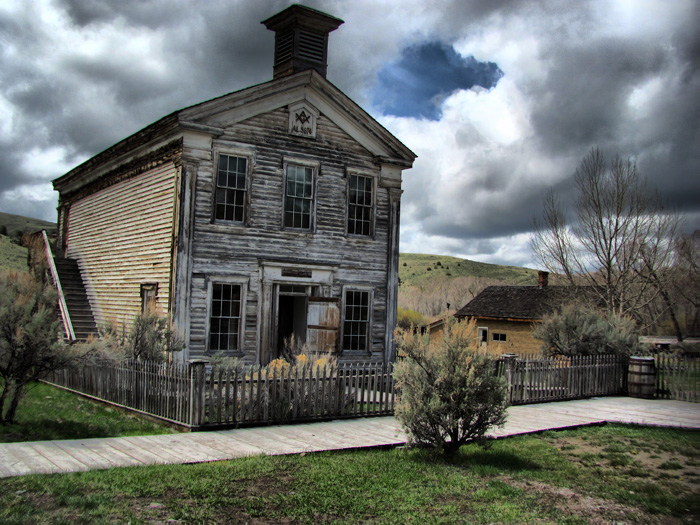
Bannack One
Process:
I added a paint daub filter to the image before clearing the image and ‘history brushing’ hte image back in. I used mainly a 90 percent opacity on a heavily speckled brush. For the final black border I increased the canvas size by 5 percent while keeping the image centered.
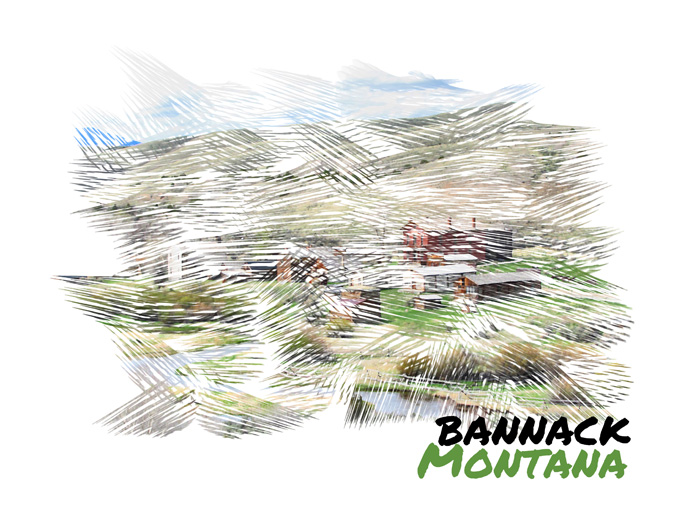
Bannack Two
Process:
I cleared the image and using the history brush I brought back what you see. I used a small brush with only three or four dots and small strokes to create the lined effect. Add a little typography (‘Permanent Marker’ from Google’s Web Font Directory) and you got a Van Gough inspired effect.
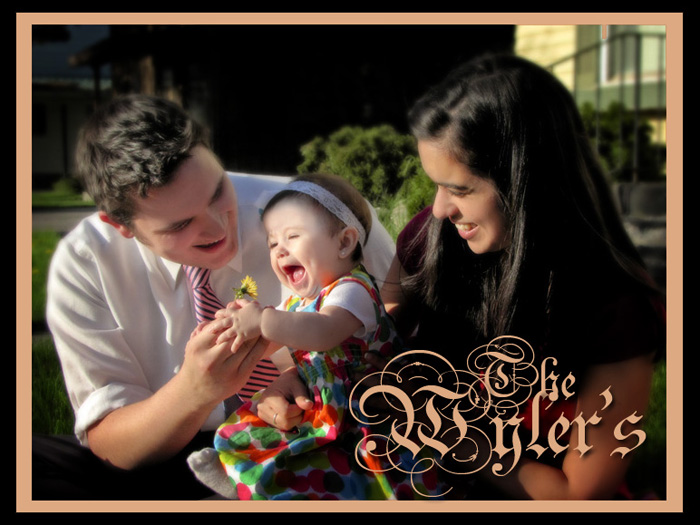
Process:
I began with duplicating the pre-edited image. I used a multiply blend on that layer, getting the darker feel. I used a mask to bring back the family. To create the border, I increased the canvas side by 5 percent twice, each time using a different color to expand the canvas, giving it a double border.
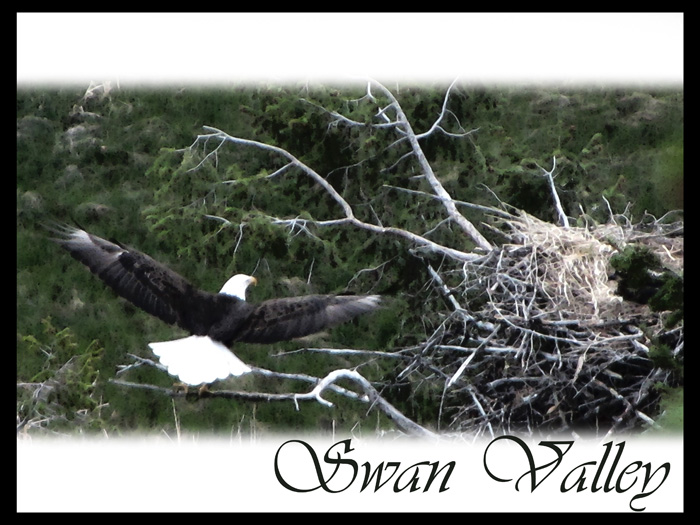
Eagle One
Side note on the image:
As I preparing my panorama post a couple weeks back, we were out past Ririe collecting some potential shots. A Bald Eagle swooped in. His nest turned out to be just below the scenic overlook (on highway 26) where we were shooting. I had to commit the unpardonable sin of digital zoom to get this picture. The eagle in this shot is probably 150 yards away.
Process:
I applied the paint daub filter again which was particularly effective in negating some of the side-effects of using digital zoom. Using the marquee tool I selected the part of the image I wanted to use and after refining the edge with a feather effect, I created a new layer and discarded the rest. I applied a black border by expanding the canvas size by 5 percent and applied some text to finish ‘er off.
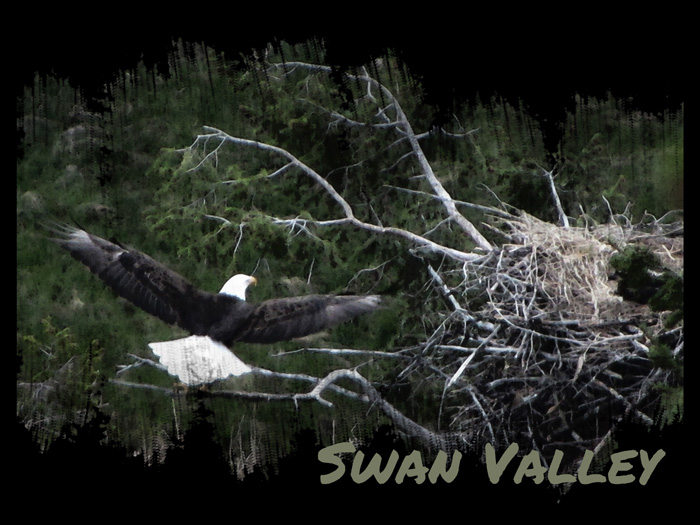
Eagle Two
Process:
Using the same paint-daub filtered image above, I cleared the image and used a history brush to bring back the image on a black backdrop.
All the images in the post were made with a DELL V313w Scanner-Printer June 5, 2011 in my home.
These are one scan images. The only adjustment made to any of the images was to increase the blacks slightly.

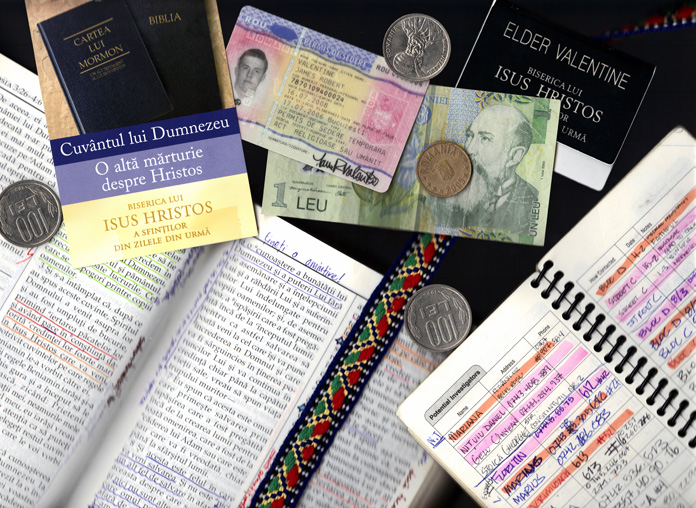
Autobiographical Scan: Mission Collage
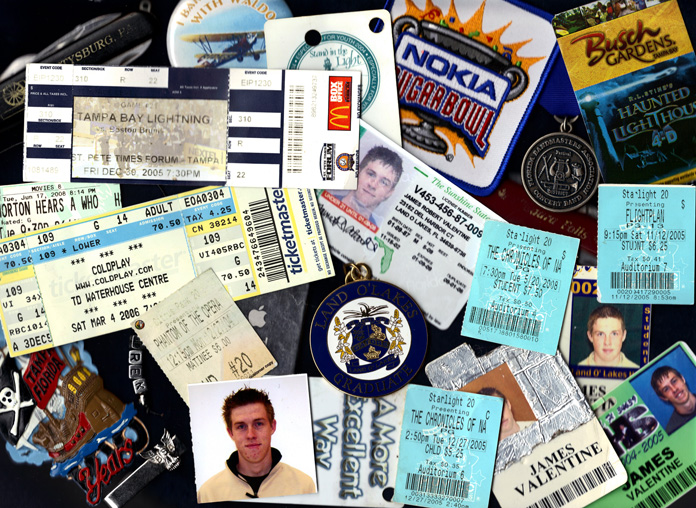
Autobiographical Scan: The High School Years
I took two different scans and blended them together in Photoshop using a simple mask:
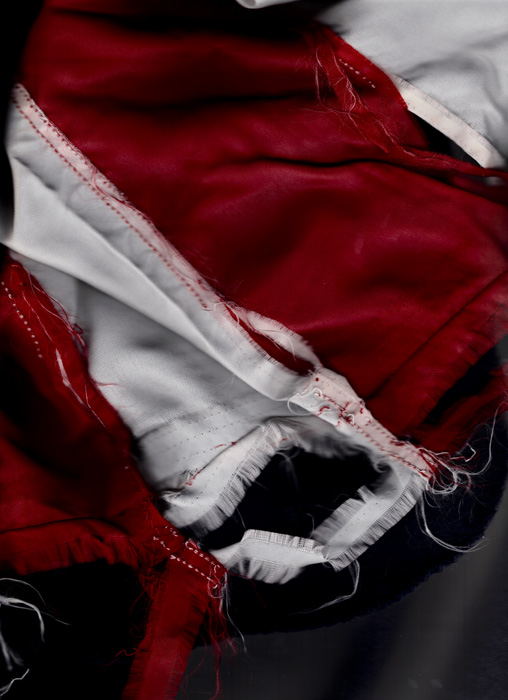
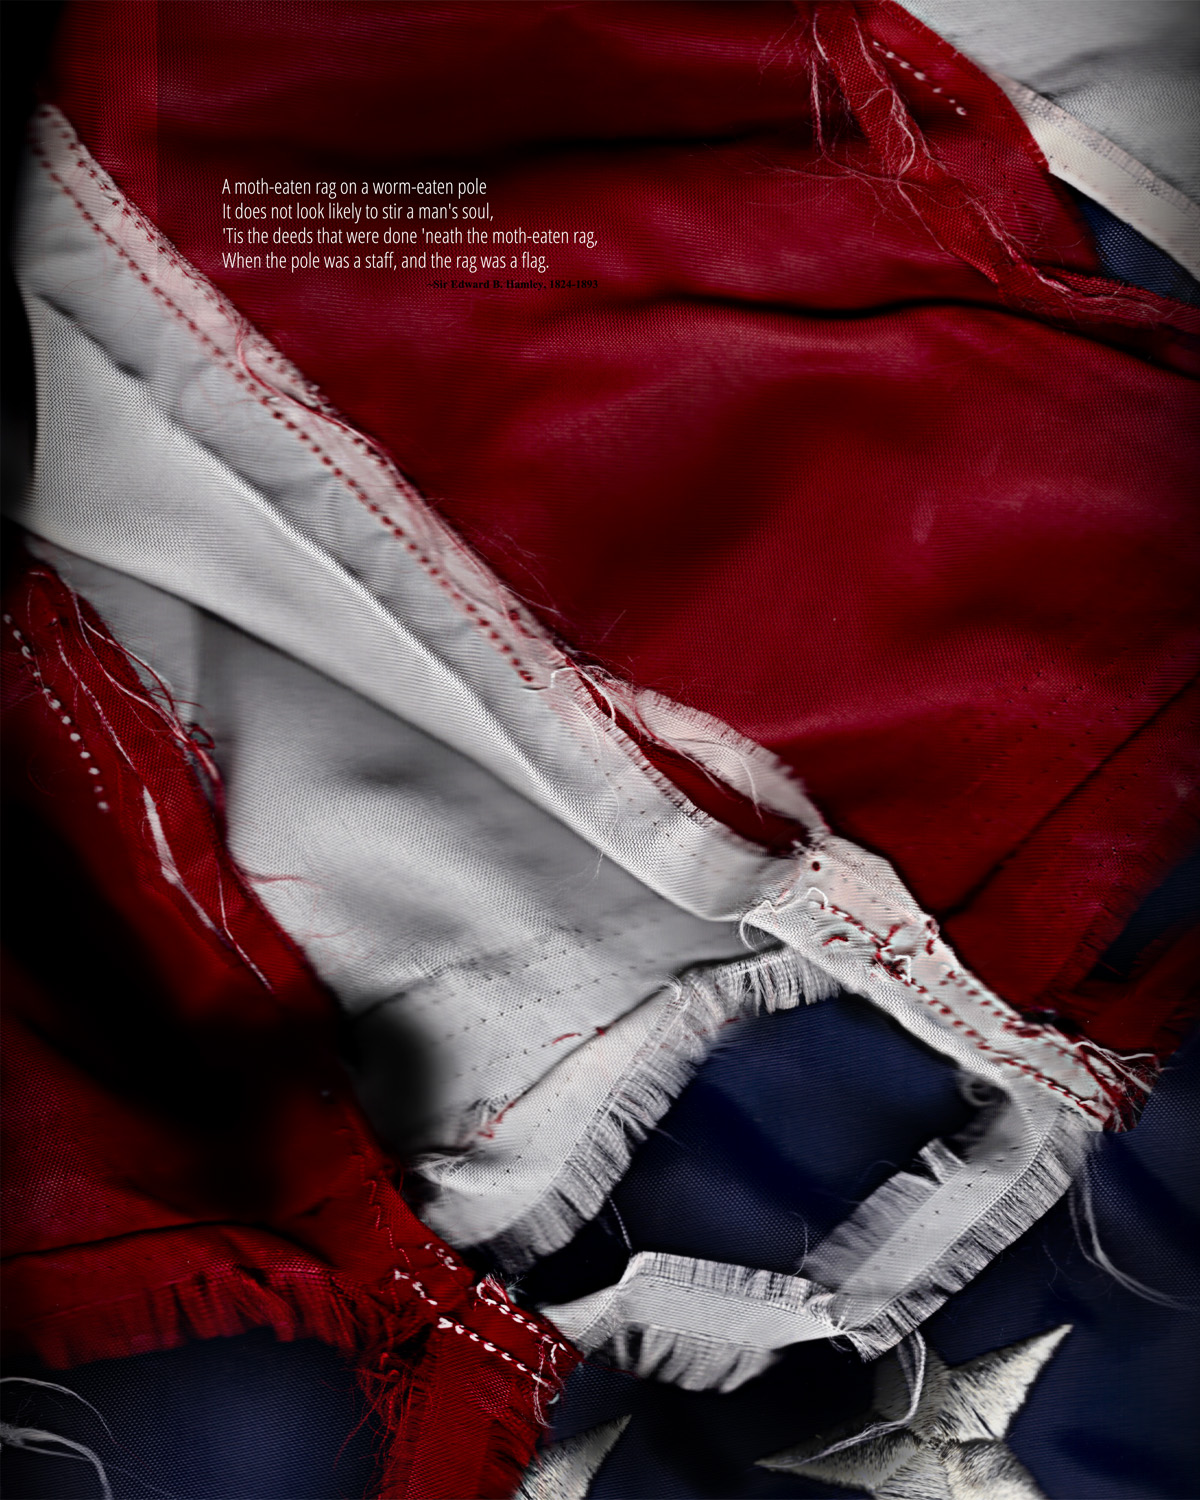
Part One: Stripes
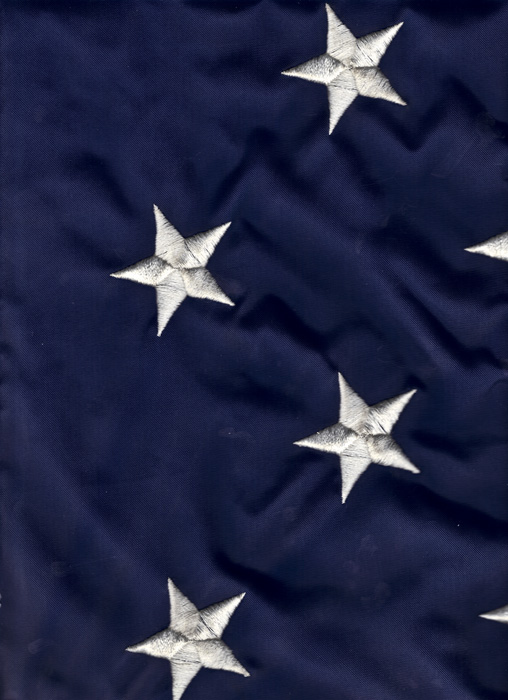
Part Two: Stars
For this one I used a different section of the flag, which required a little more touch up (i.e. Filling in the clip-hole)

Stars and Stripes Forever
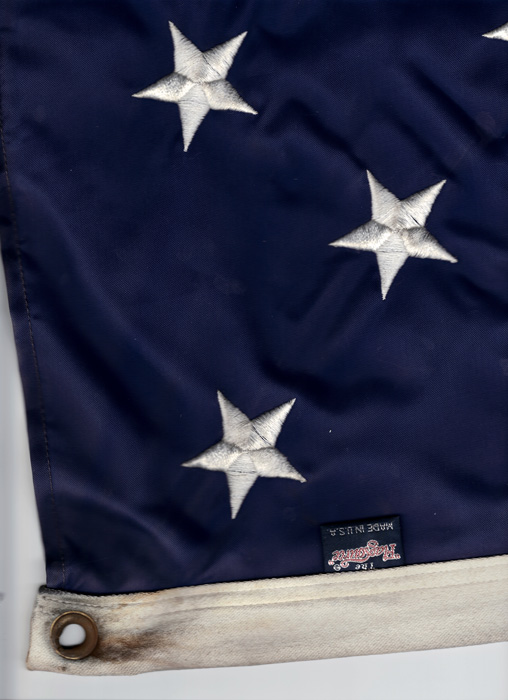
Part Two: Stars--Variation

Stars and Stripes--Two
You guessed it, three scans combined into one image:
I combined two images with a simple mask and then the third I applied with a soft light blending mode in Photoshop. To add a little depth, I added a hard light drop shadow to the pennies.
Part One: Stripes
Part Two: Stars--Variation
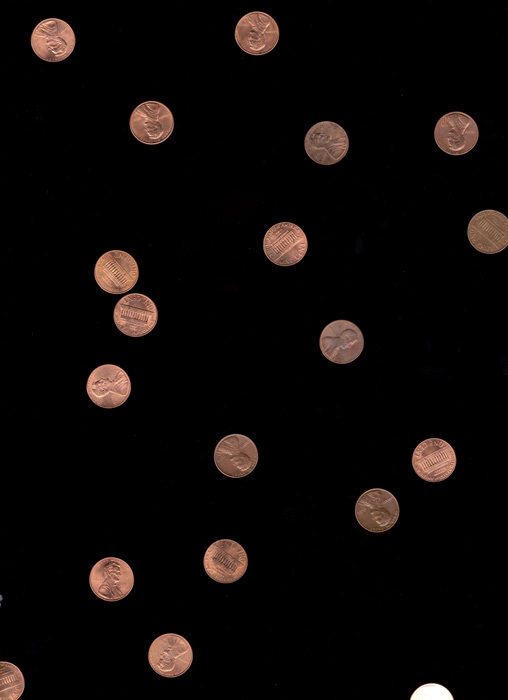
Part Three: Pennies
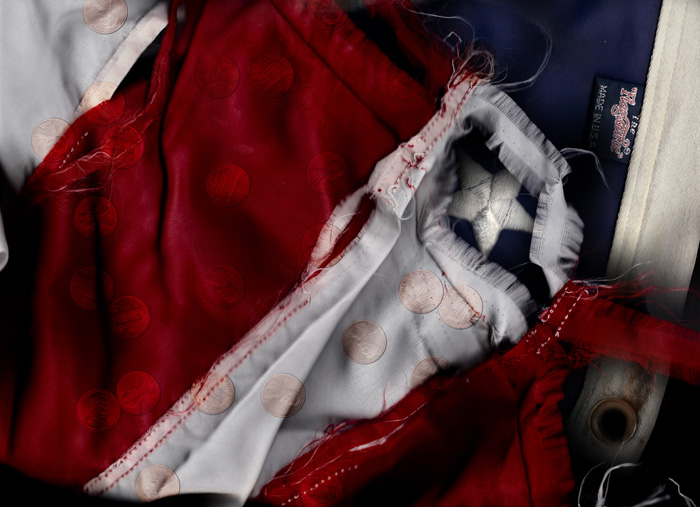
Final Product: "National Debt"

Click on an image below to see the details.

I used Dynamic Photo for all my HDR enhancements.
Original
After
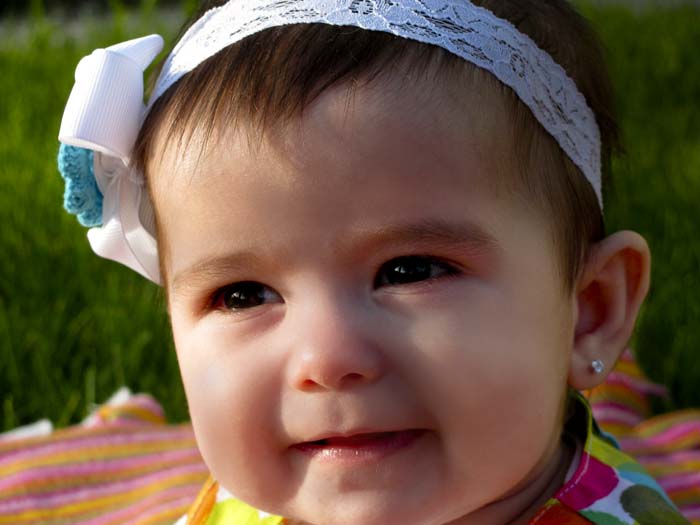
Airbrush
5/22/2011 7:16 p.m.
[Manual] F/4.0 Shutter:1/250 ISO 100 Canon Powershot SX120 IS
I began in Camera Raw making some general adjustments to lighting (increasing blacks and saturation). In Photoshop, I used an airbrush (30 opacity/40 flow) to make specific adjustments to soften the features.

Original
Light Source
After
Match Color
Original Photo: 5/22/2011 8:00 p.m.
[Manual] F/4.5 Shutter: 1/160 ISO 80
Color Source: 5/22/2011 7:16 p.m.
[Manual] F/4.0 Shutter:1/250 ISO 100 Canon Powershot SX120 IS
Using only the Photoshop Match color feature, I used the color from the second photo to create the contrast and lighting in the final image.
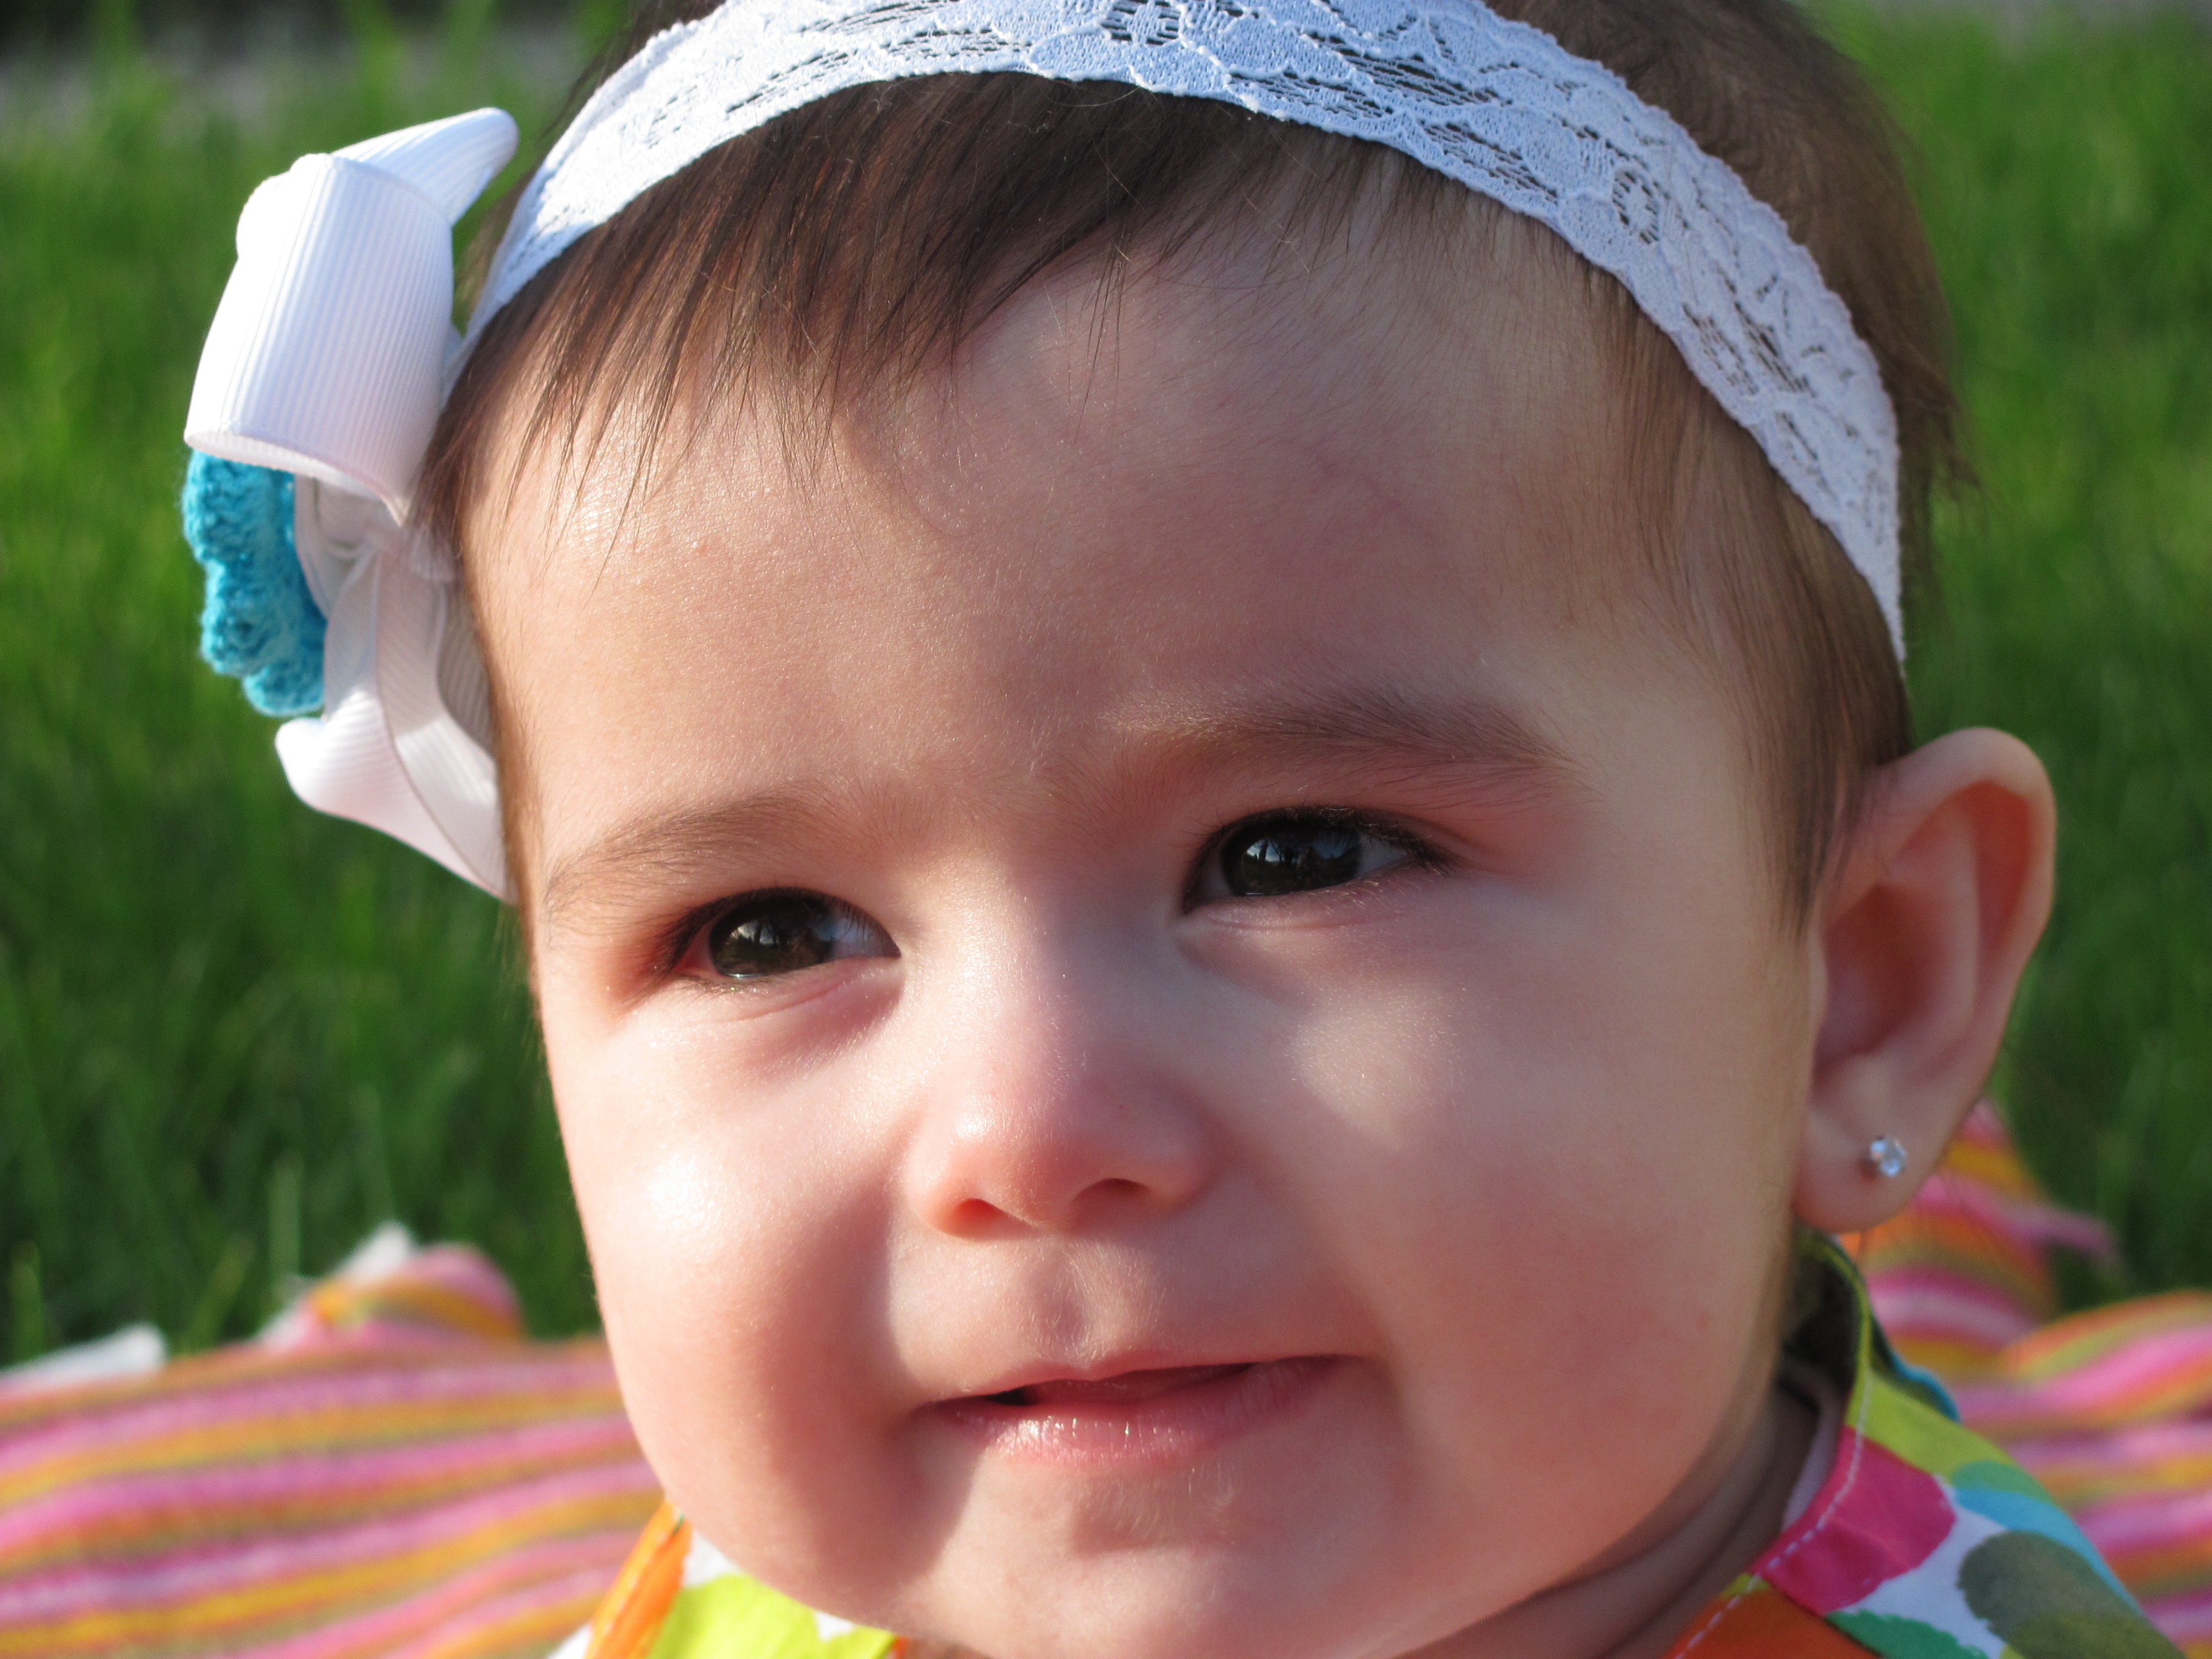
Before
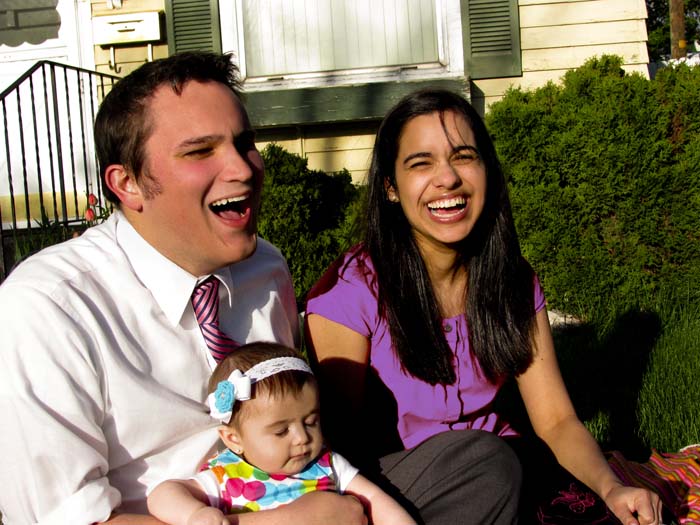
After: Color Replacement
Color Replace
5/22/2011 7:17 p.m.
F/3.2 Shutter: 1/1250 ISO 100 Canon Powershot SX120 IS
After making some initial level adjustments in Camera RAW (in particular increasing blacks and slightly increasing saturation), I turned to Photoshop applying some airbrushing to the parents faces to blend some of the strong evening light. Using Photoshop’s replace color, I took the wife’s shirt and replaced the color with a bright purple.
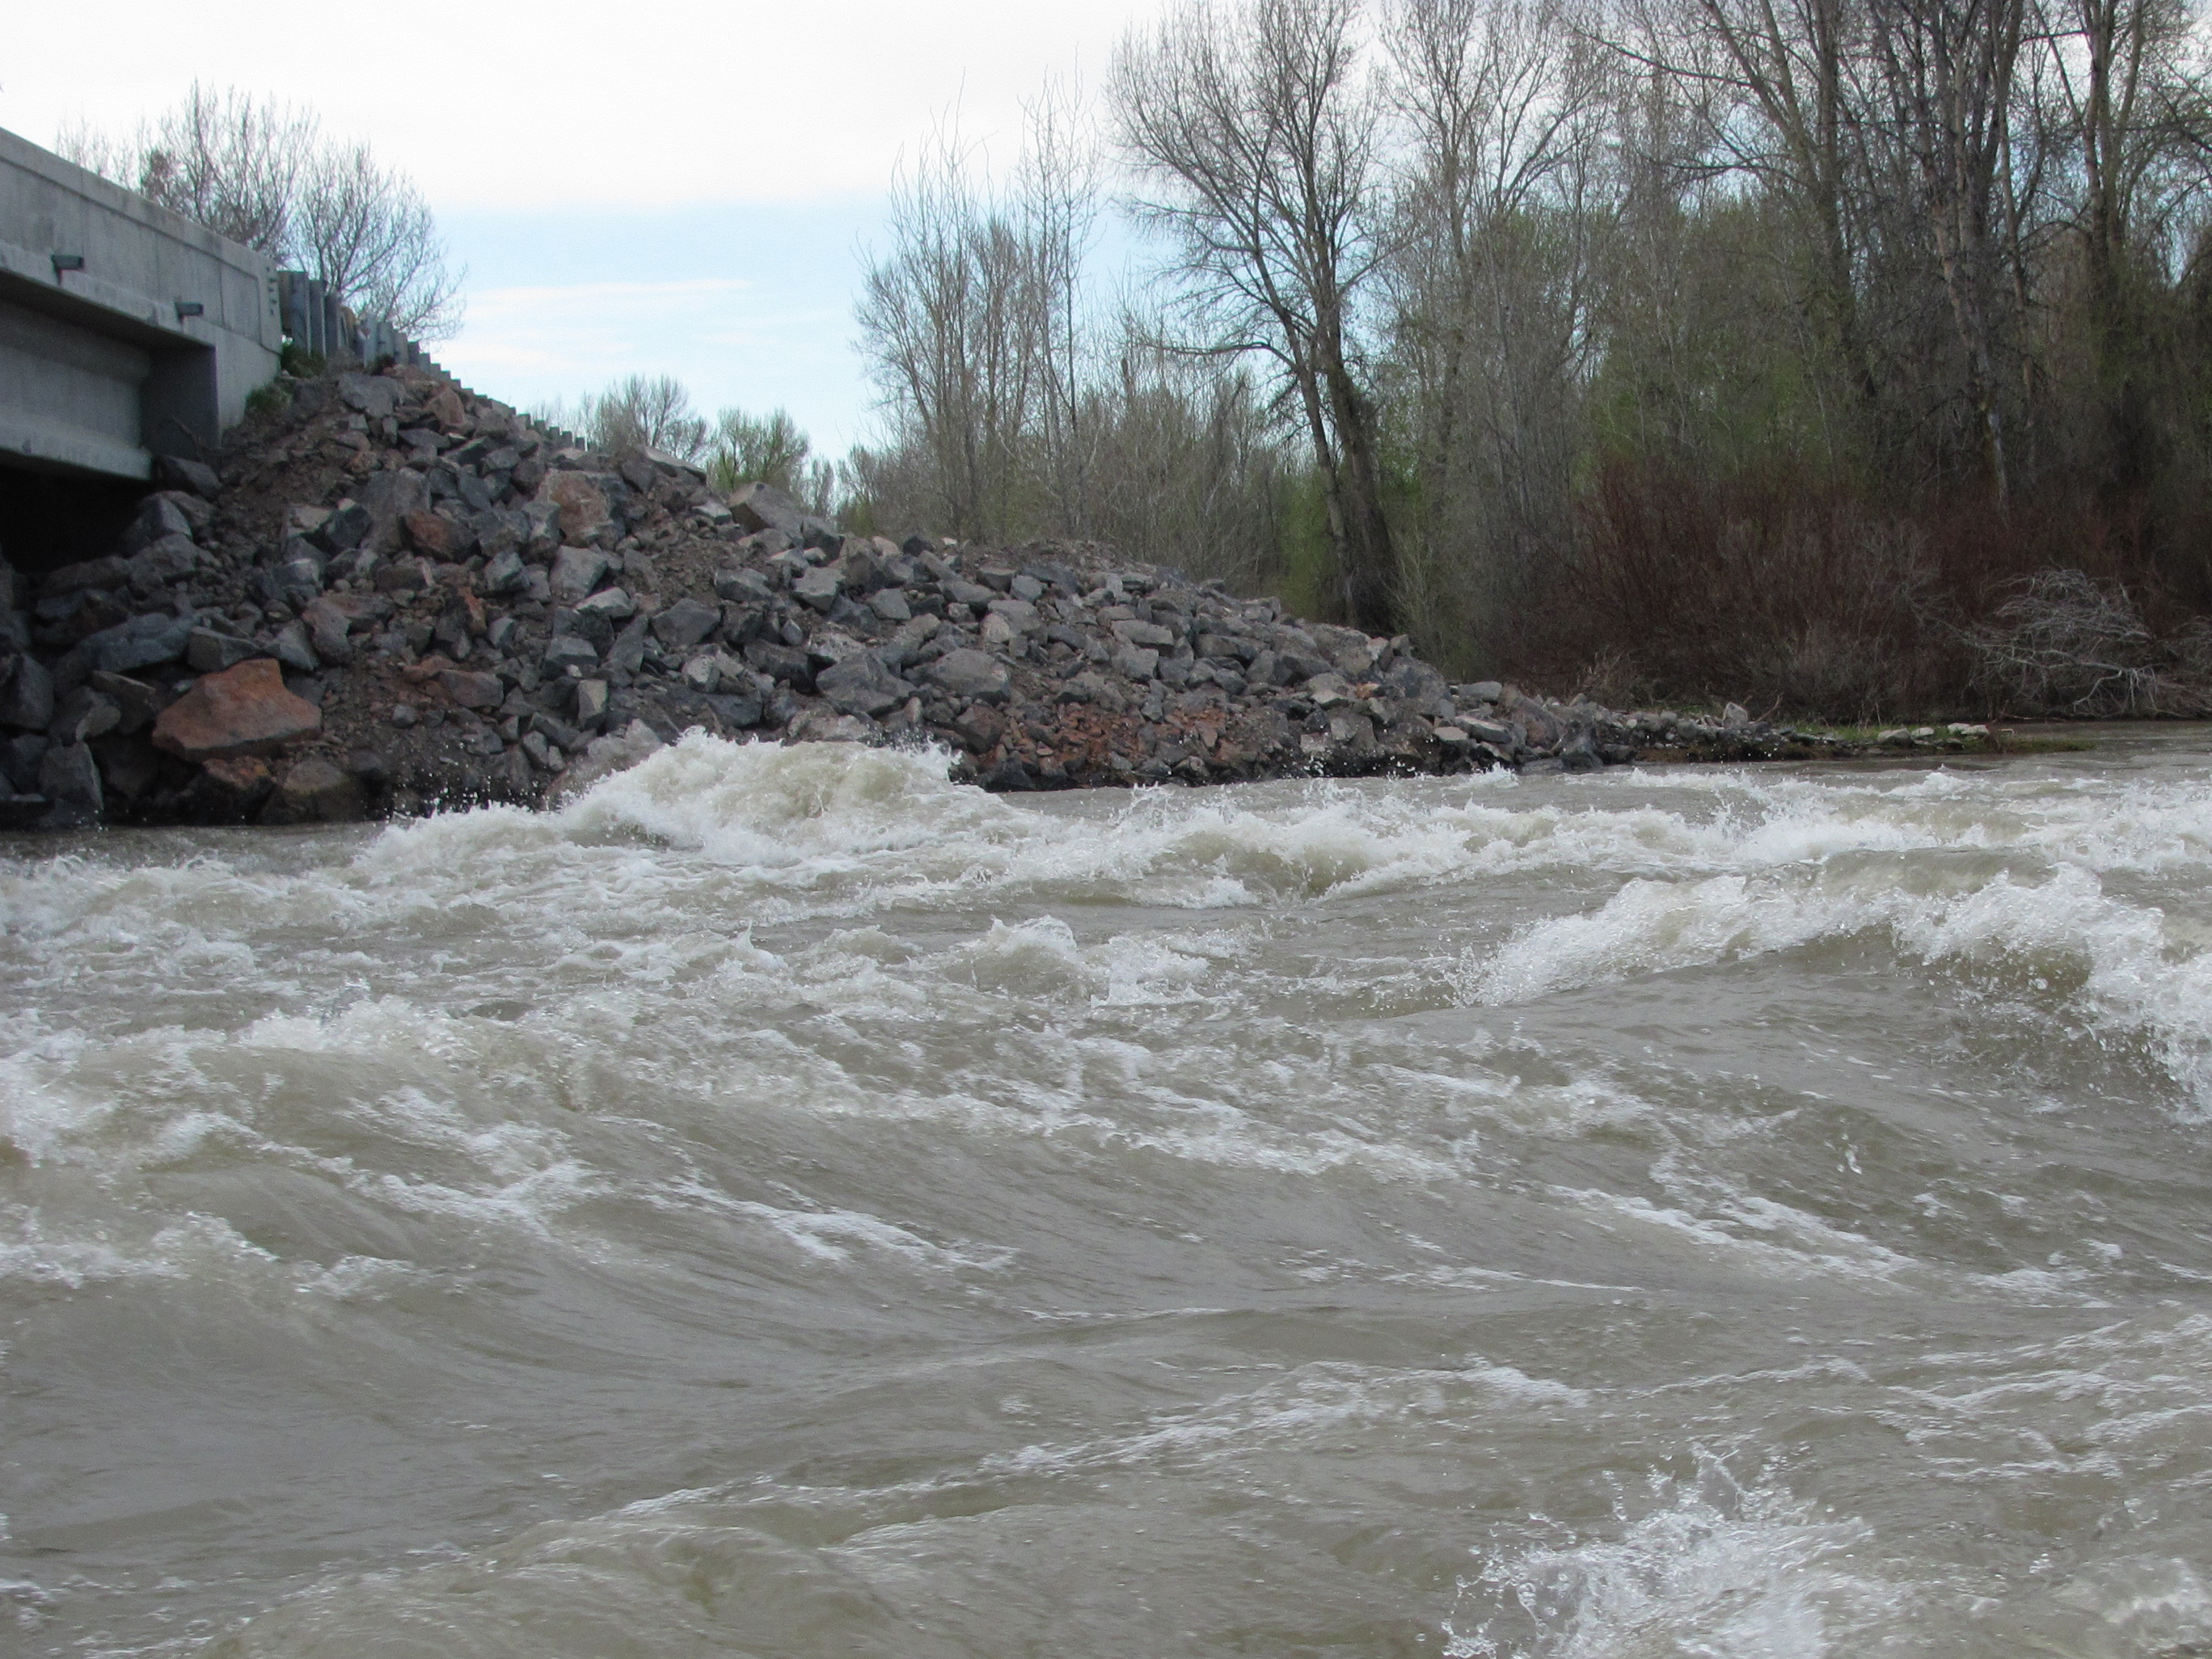

Before: Teton River
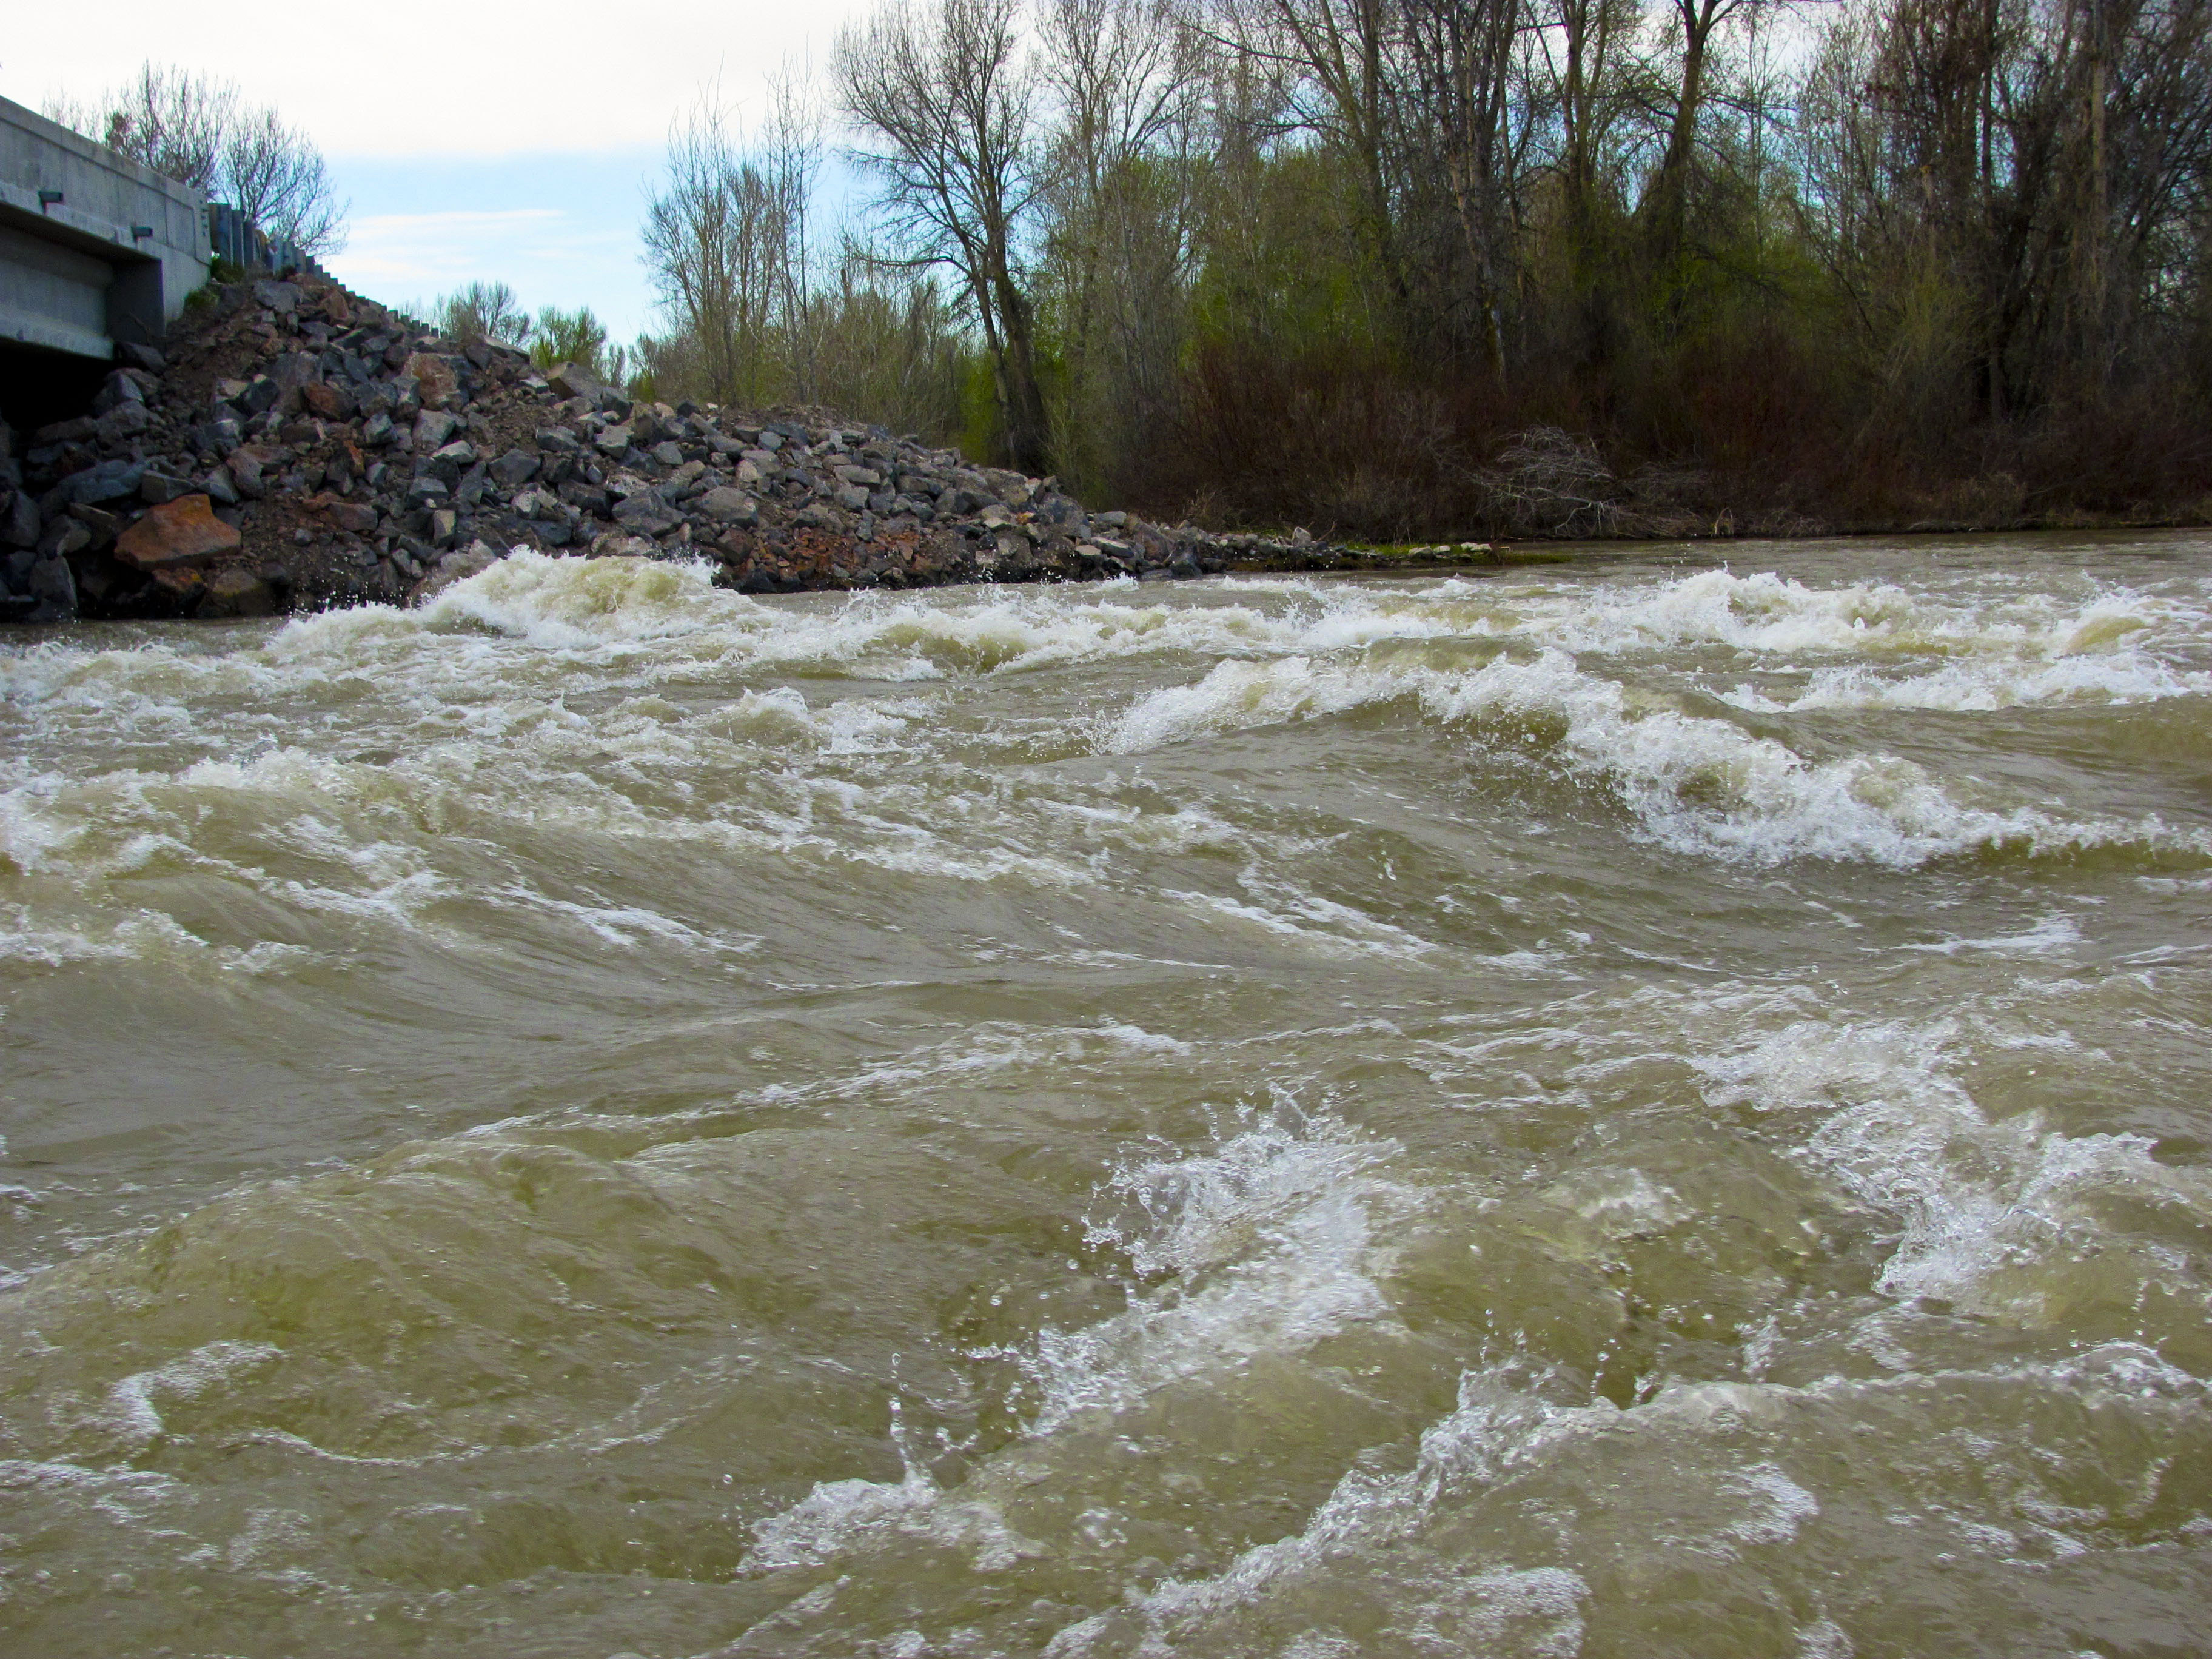
After- Teton River
Archer Highway crossing the Snake River, Idaho
May 15, 2011 9:05 a.m. F/3.5 SHUTTER: 1/500 ISO: 100 Canon Powershot SX120 IS
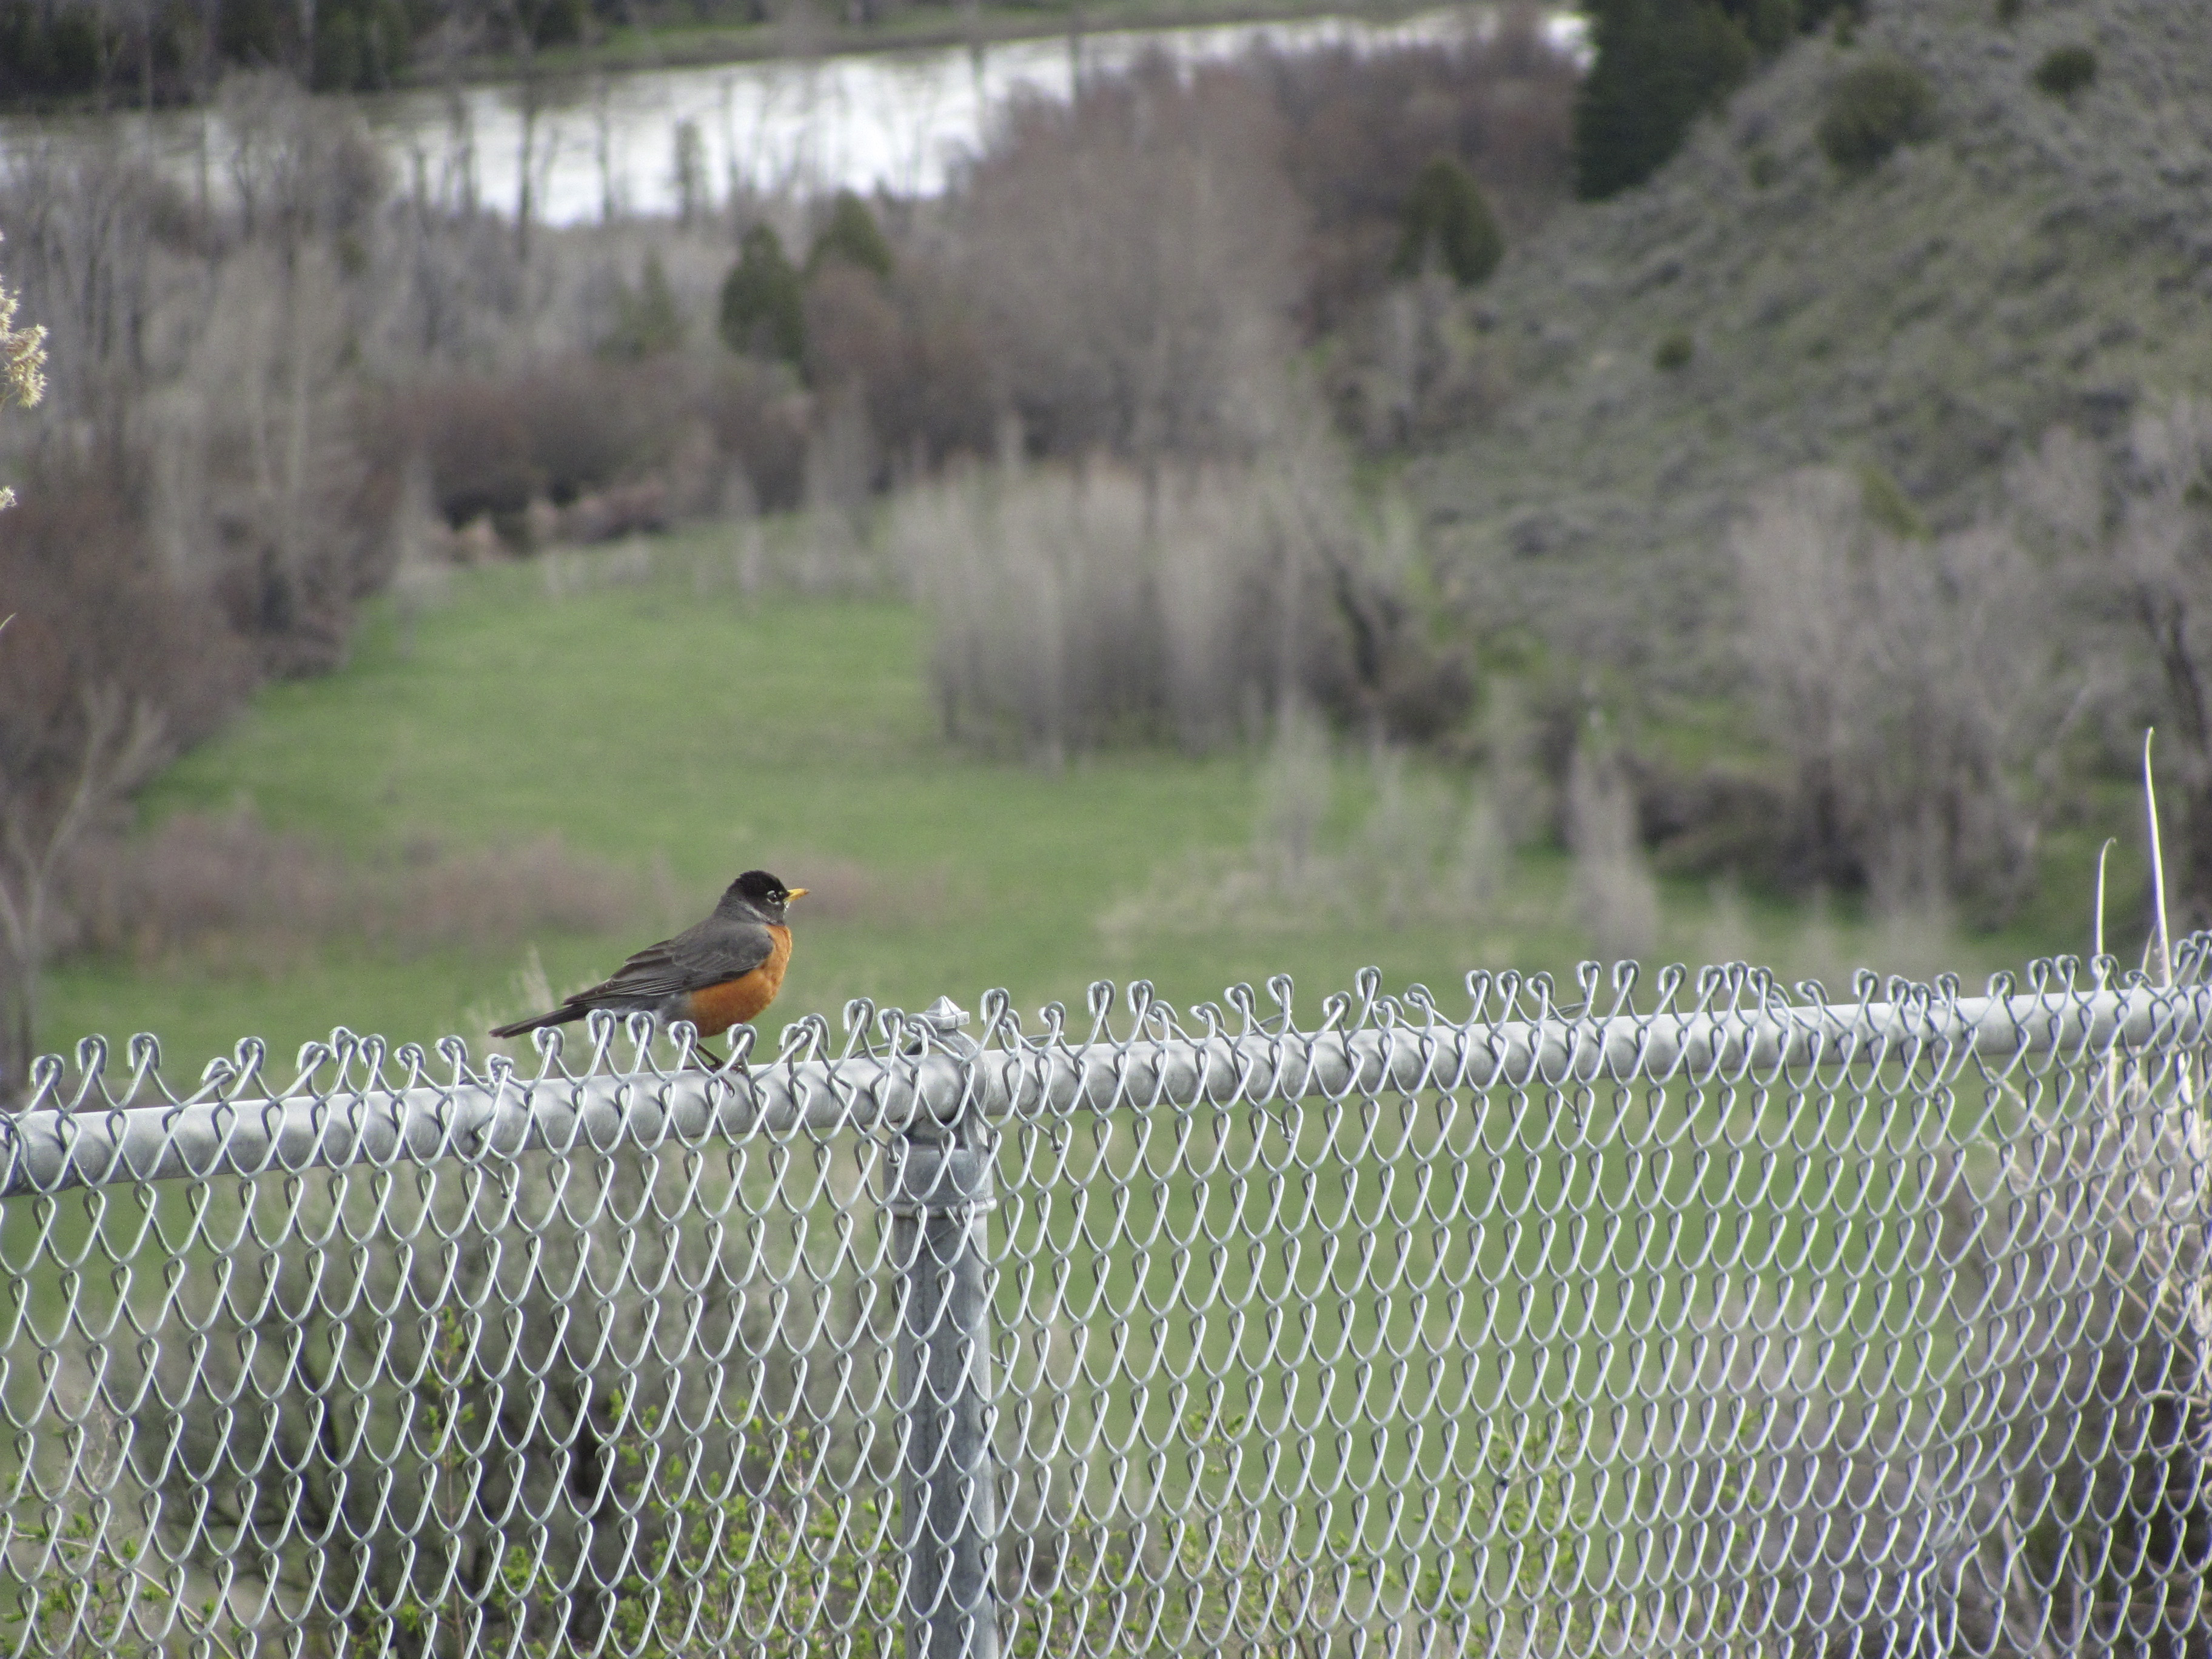
Before-Bird
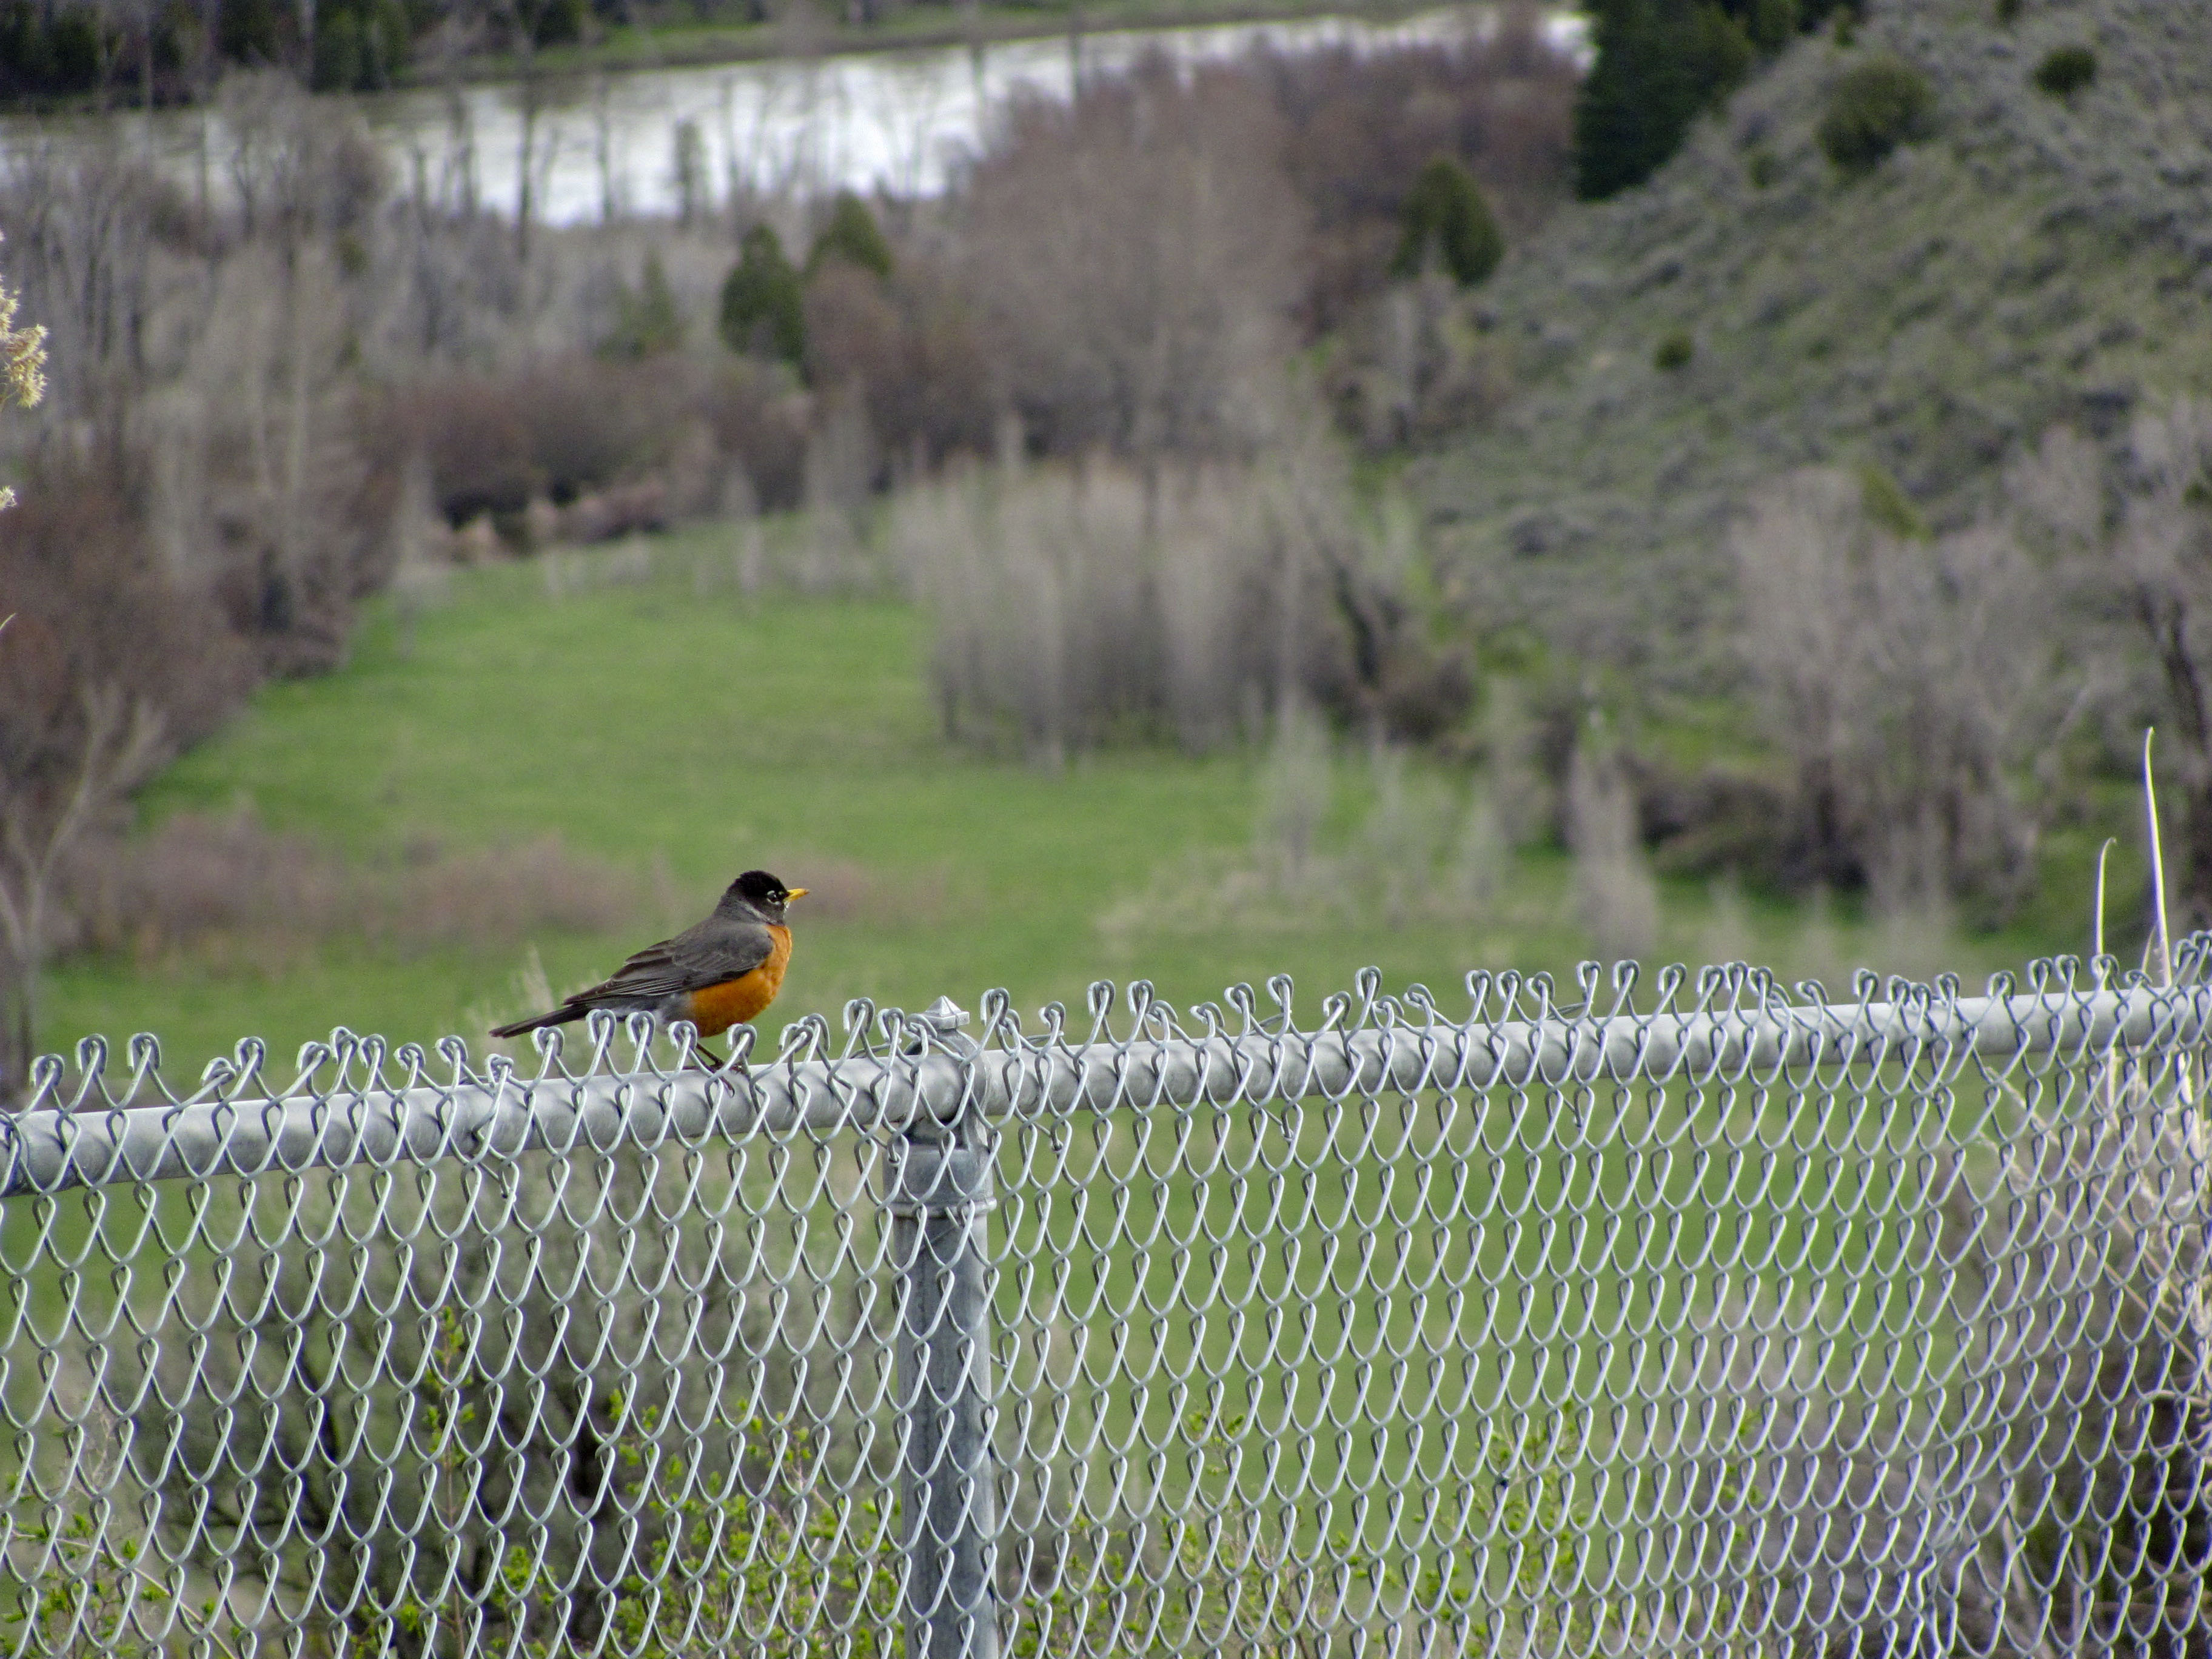
After-Bird
Scenery Lookout Highway 26 between Ririe and Swan Valley, Idaho
May 15, 2011 9:05 a.m. F/4.3 SHUTTER: 1/400 ISO: 200 Canon Powershot SX120 IS
Both of these pictures were edited in Camera Raw. Most of the adjustments I made involved improving the clarity, enhancing contrast through adjusting vibrancy. In making adjustments to the bird, I used an adjustment brush to add lighting to the bird and increased the shadows in the background trees and river.
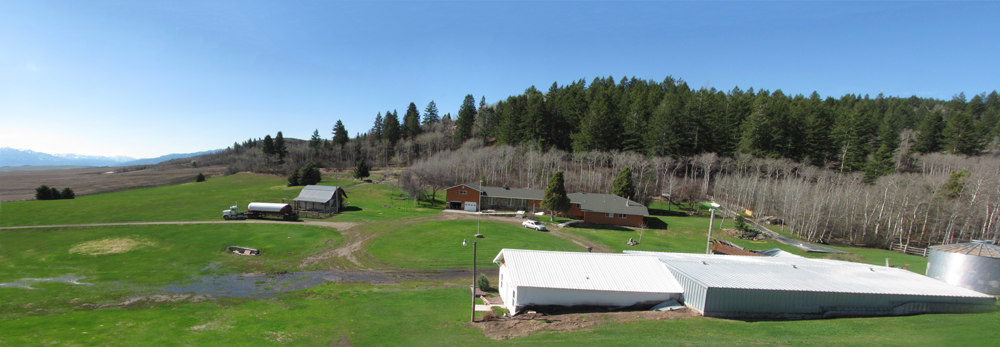
Triple "L" Ranch
Triple “L” Ranch
May 15, 2011, 9:45 a.m. Triple “L” Ranch, Ririe Area, Idaho
F/8.0 SHUTTER: 1/320 ISO 100 Canon Powershot SX120 IS
I created this panorama using the photo merge feature on Photoshop. I used content aware fill and clone stamp to build out the corners and complete the sky. The grass at the bottom also needed to be reconstructed. No color adjustments were necessary, all the colors were original.
The original photos used to create this shot are posted below:

Before Smart Filter
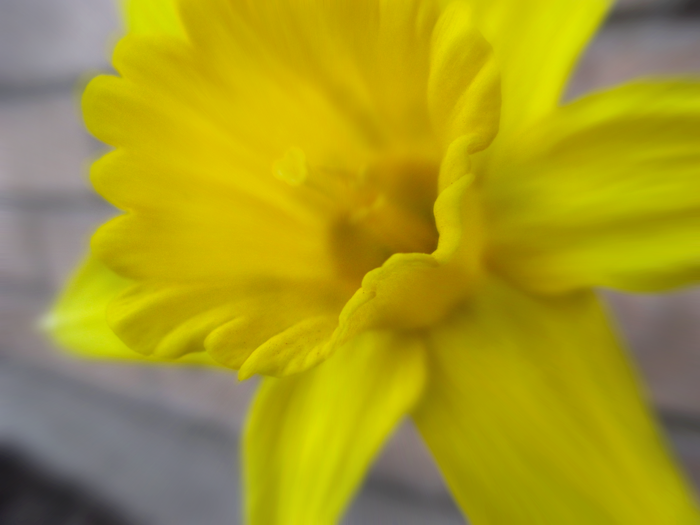
Stats & Process:
Clarke Building Parking Lot, BYU-Idaho Campus, Rexburg, Idaho; May 5, 2011 7:28 p.m. F/2.8 SHUTTER: 1/400; Exposure Compensation: -1.33 ISO 100 Canon Powershot SX 120 IS
These flowers were in the shadow but with normal light, even at 7 p.m. they were washing out because of their natural vibrancy. I set the exposure compensation deliberately low to bring back the saturation and so forth in post production. In post production, I first used a levels and saturation adjustments bring back the bright yellow in the flowers. After that, I used a smart filter to create a motion blur on the flower. Instead of a radial blur I chose a more direct on blur, giving the sense of rushing the flower. With a mask I enlarged the center to include the entire bell of the flower. To finish up, I returned to the saturation adjustment and with a mask desaturated some of the areas of shadow on the flower, strengthening contrast and fidelity.
After Smart Filter
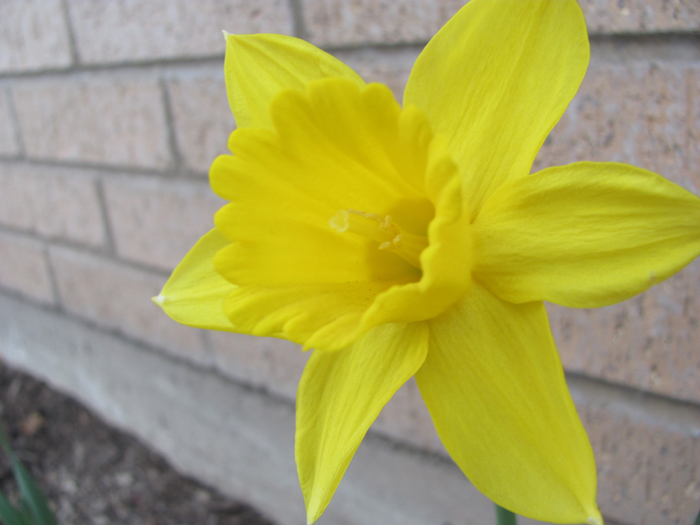
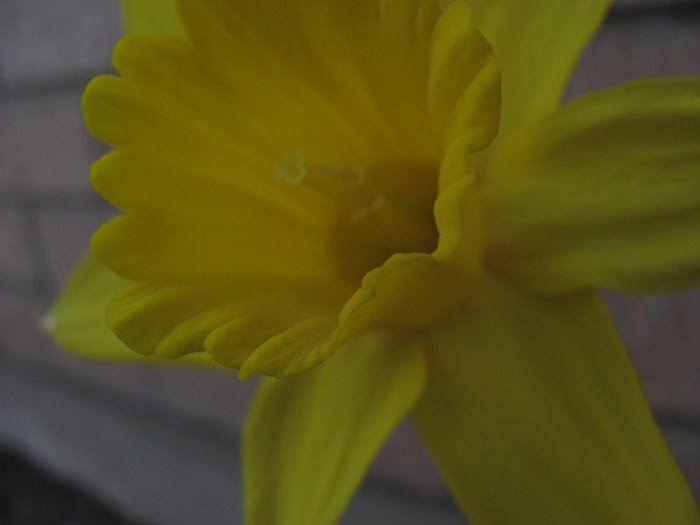
Before Adjustment Layer
Stats & Process:
Clarke Building Parking Lot, BYU-Idaho Campus, Rexburg, Idaho; May 5, 2011 7:27 p.m. F/2.8 SHUTTER: 1/125; ISO 100 Canon Powershot SX 120 IS
Using purely adjustment layers, I created this more artistically oriented piece. I first used a black and white “yellow filter” adjustment layer. This created a higher contrast between the flower and the surrounding. I then began to mask back in all of the background brick and I deliberately tinged the edges of the flower. For a final touch, I added back in the yellow in the bell of the flower. The whole artisitic idea behind it was to create the feeling of the flower generating its own light and warmth to share with the world around it.
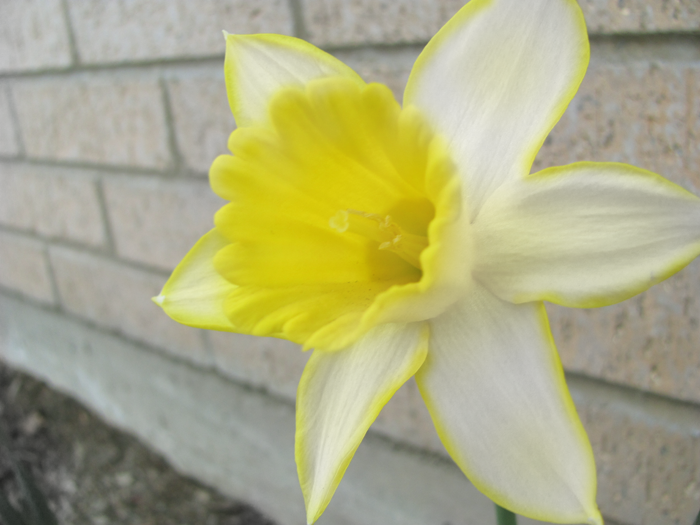
After Adjustment Layer

Before-1
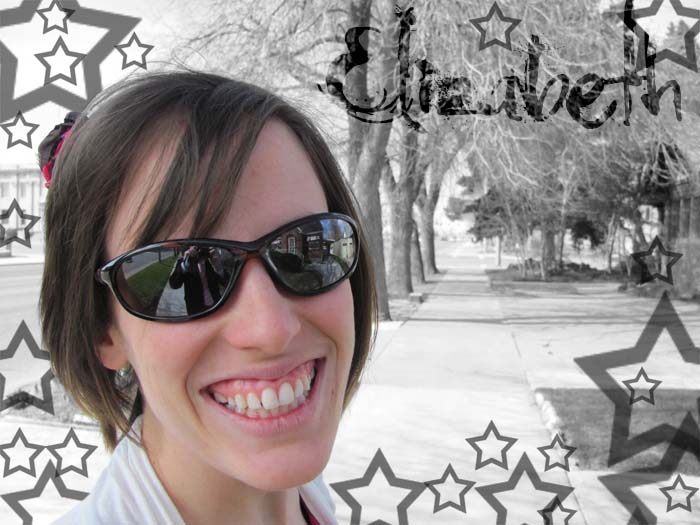
After-2
Specs & Process: S 2nd East and Main Street, Rexburg, Idaho; April 24, 2011 4:30 pm f/2.8 Shutter: 1/800 Cannon Powershot SX120 IS
It took me about 10 minutes to enhance this shot. I seperated my subject, Elizabeth, on a seperate layer and applied a black and white adjustment to the background. I used the sponge tool to desaturate some of the nooks & cranies in her hair to match the background. With a simple star brush I painted the stars in on their own layer and applied a title overlay on the top. The font is Moonlight Shadow and is available on Dafont.com.
In this exercise, I will take two photographs I took and blend them together in Adobe Photoshop.
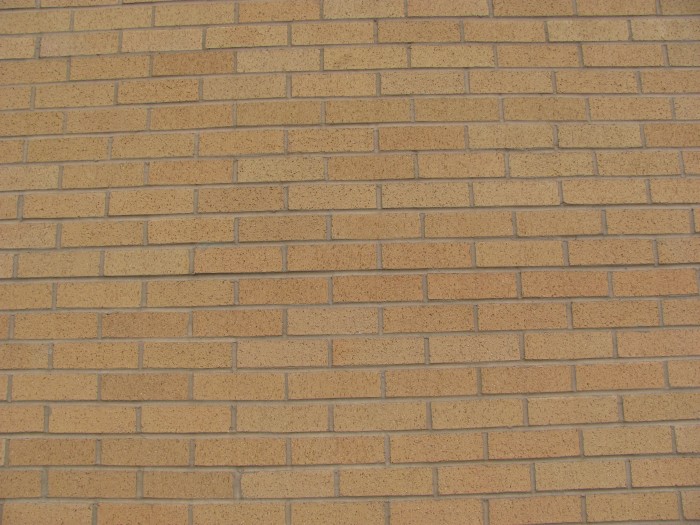
Before-2A
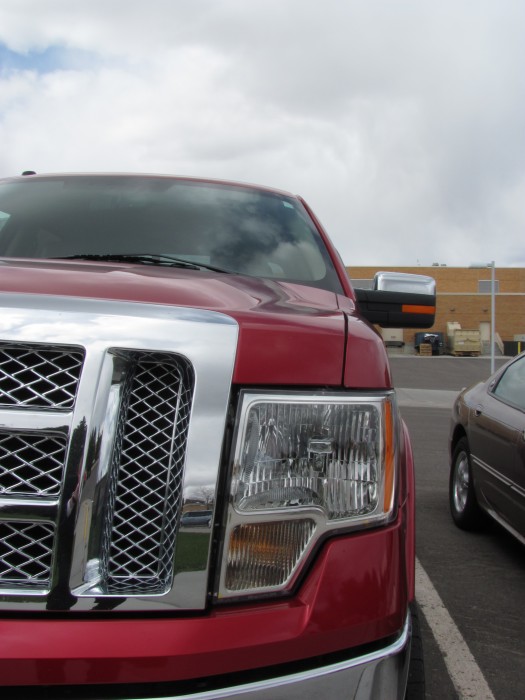
Before-2B
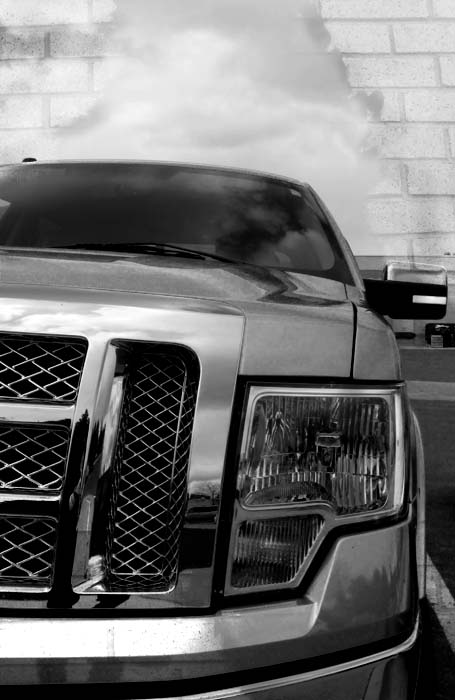
After-2
Specs & Process:
A: Ricks Building South Wall; May 1, 2011, 12:31 p.m. f/2.8 Shutter: 1/640 Canon Powershot SX120 IS
B:Manwaring Center Street Parking, May 1, 2011; 12:17 p.m. f/8.0 Shutter: 1/200 Canon Powershot SX120 IS
I chose a black and white adjustment that really accented the steel and chrome of the truck to give it maximum contrast. I then took the brick texture, laid in over top with an overlay blending mode. I used a mask and a textured brush to take out the brick. I finished it off with the burn tool to add a sort of custom drop-shadow behind the brick.
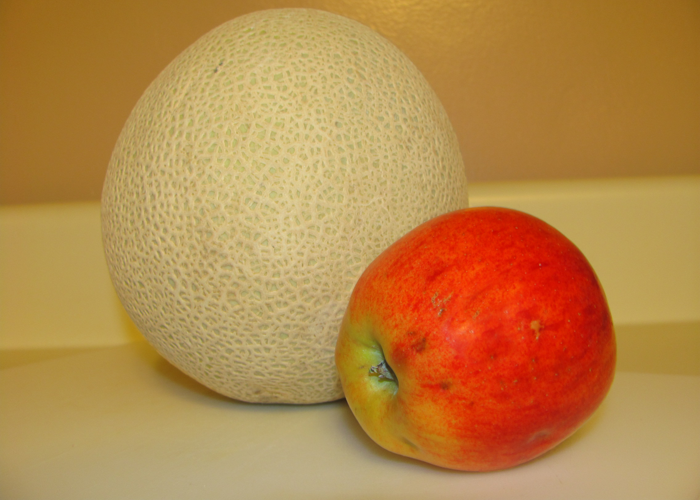
Before
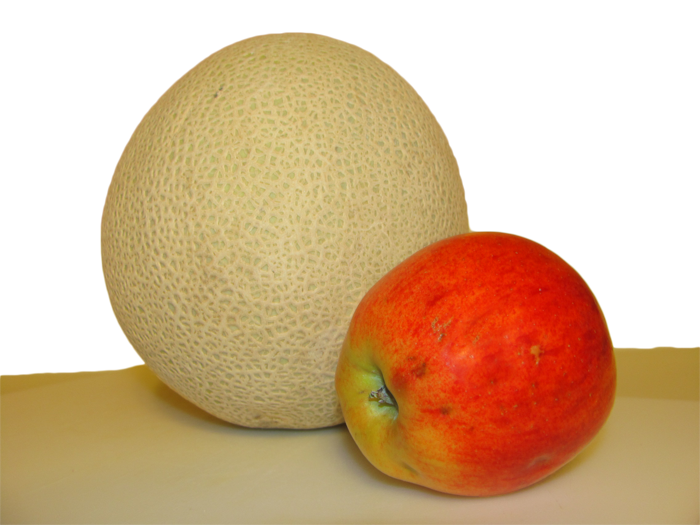
Partial Cut Out
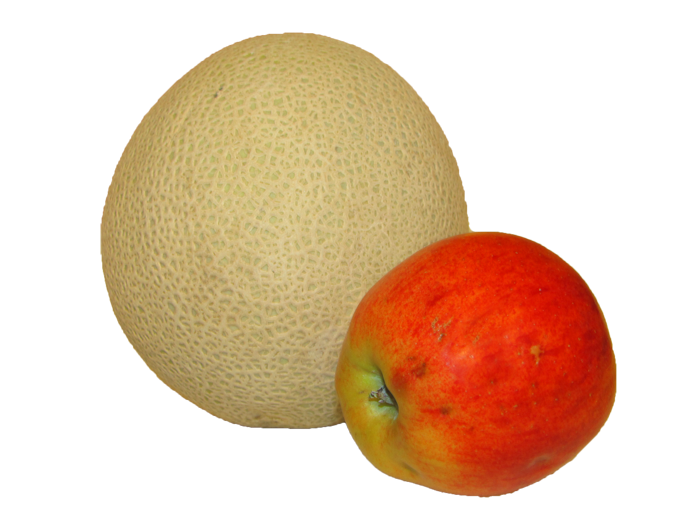
Full Cutout
Rexburg, ID; April 15, 2010 8:24 p.m. f/2.8 Shutter: 1/8 Cannon Powershot X120 IS Flash fired with red-eye reduction.
Process: Used quick selection tool to create selections; Used clone stamp to reduce shine of flash on apple.
You must be logged in to post a comment.