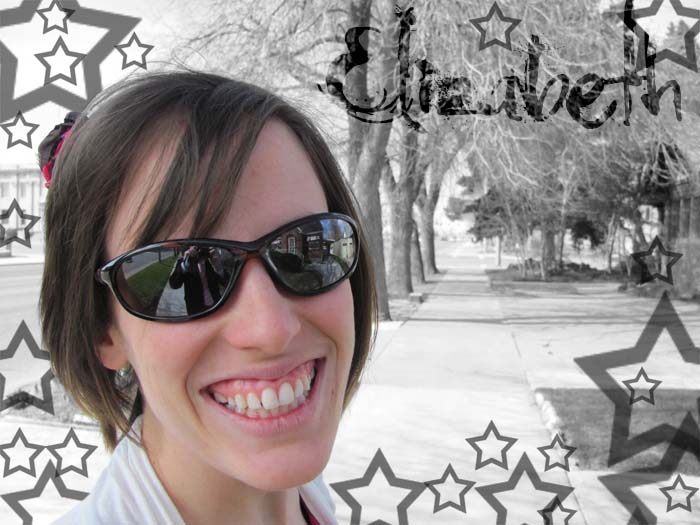
Part One: Text Overlay
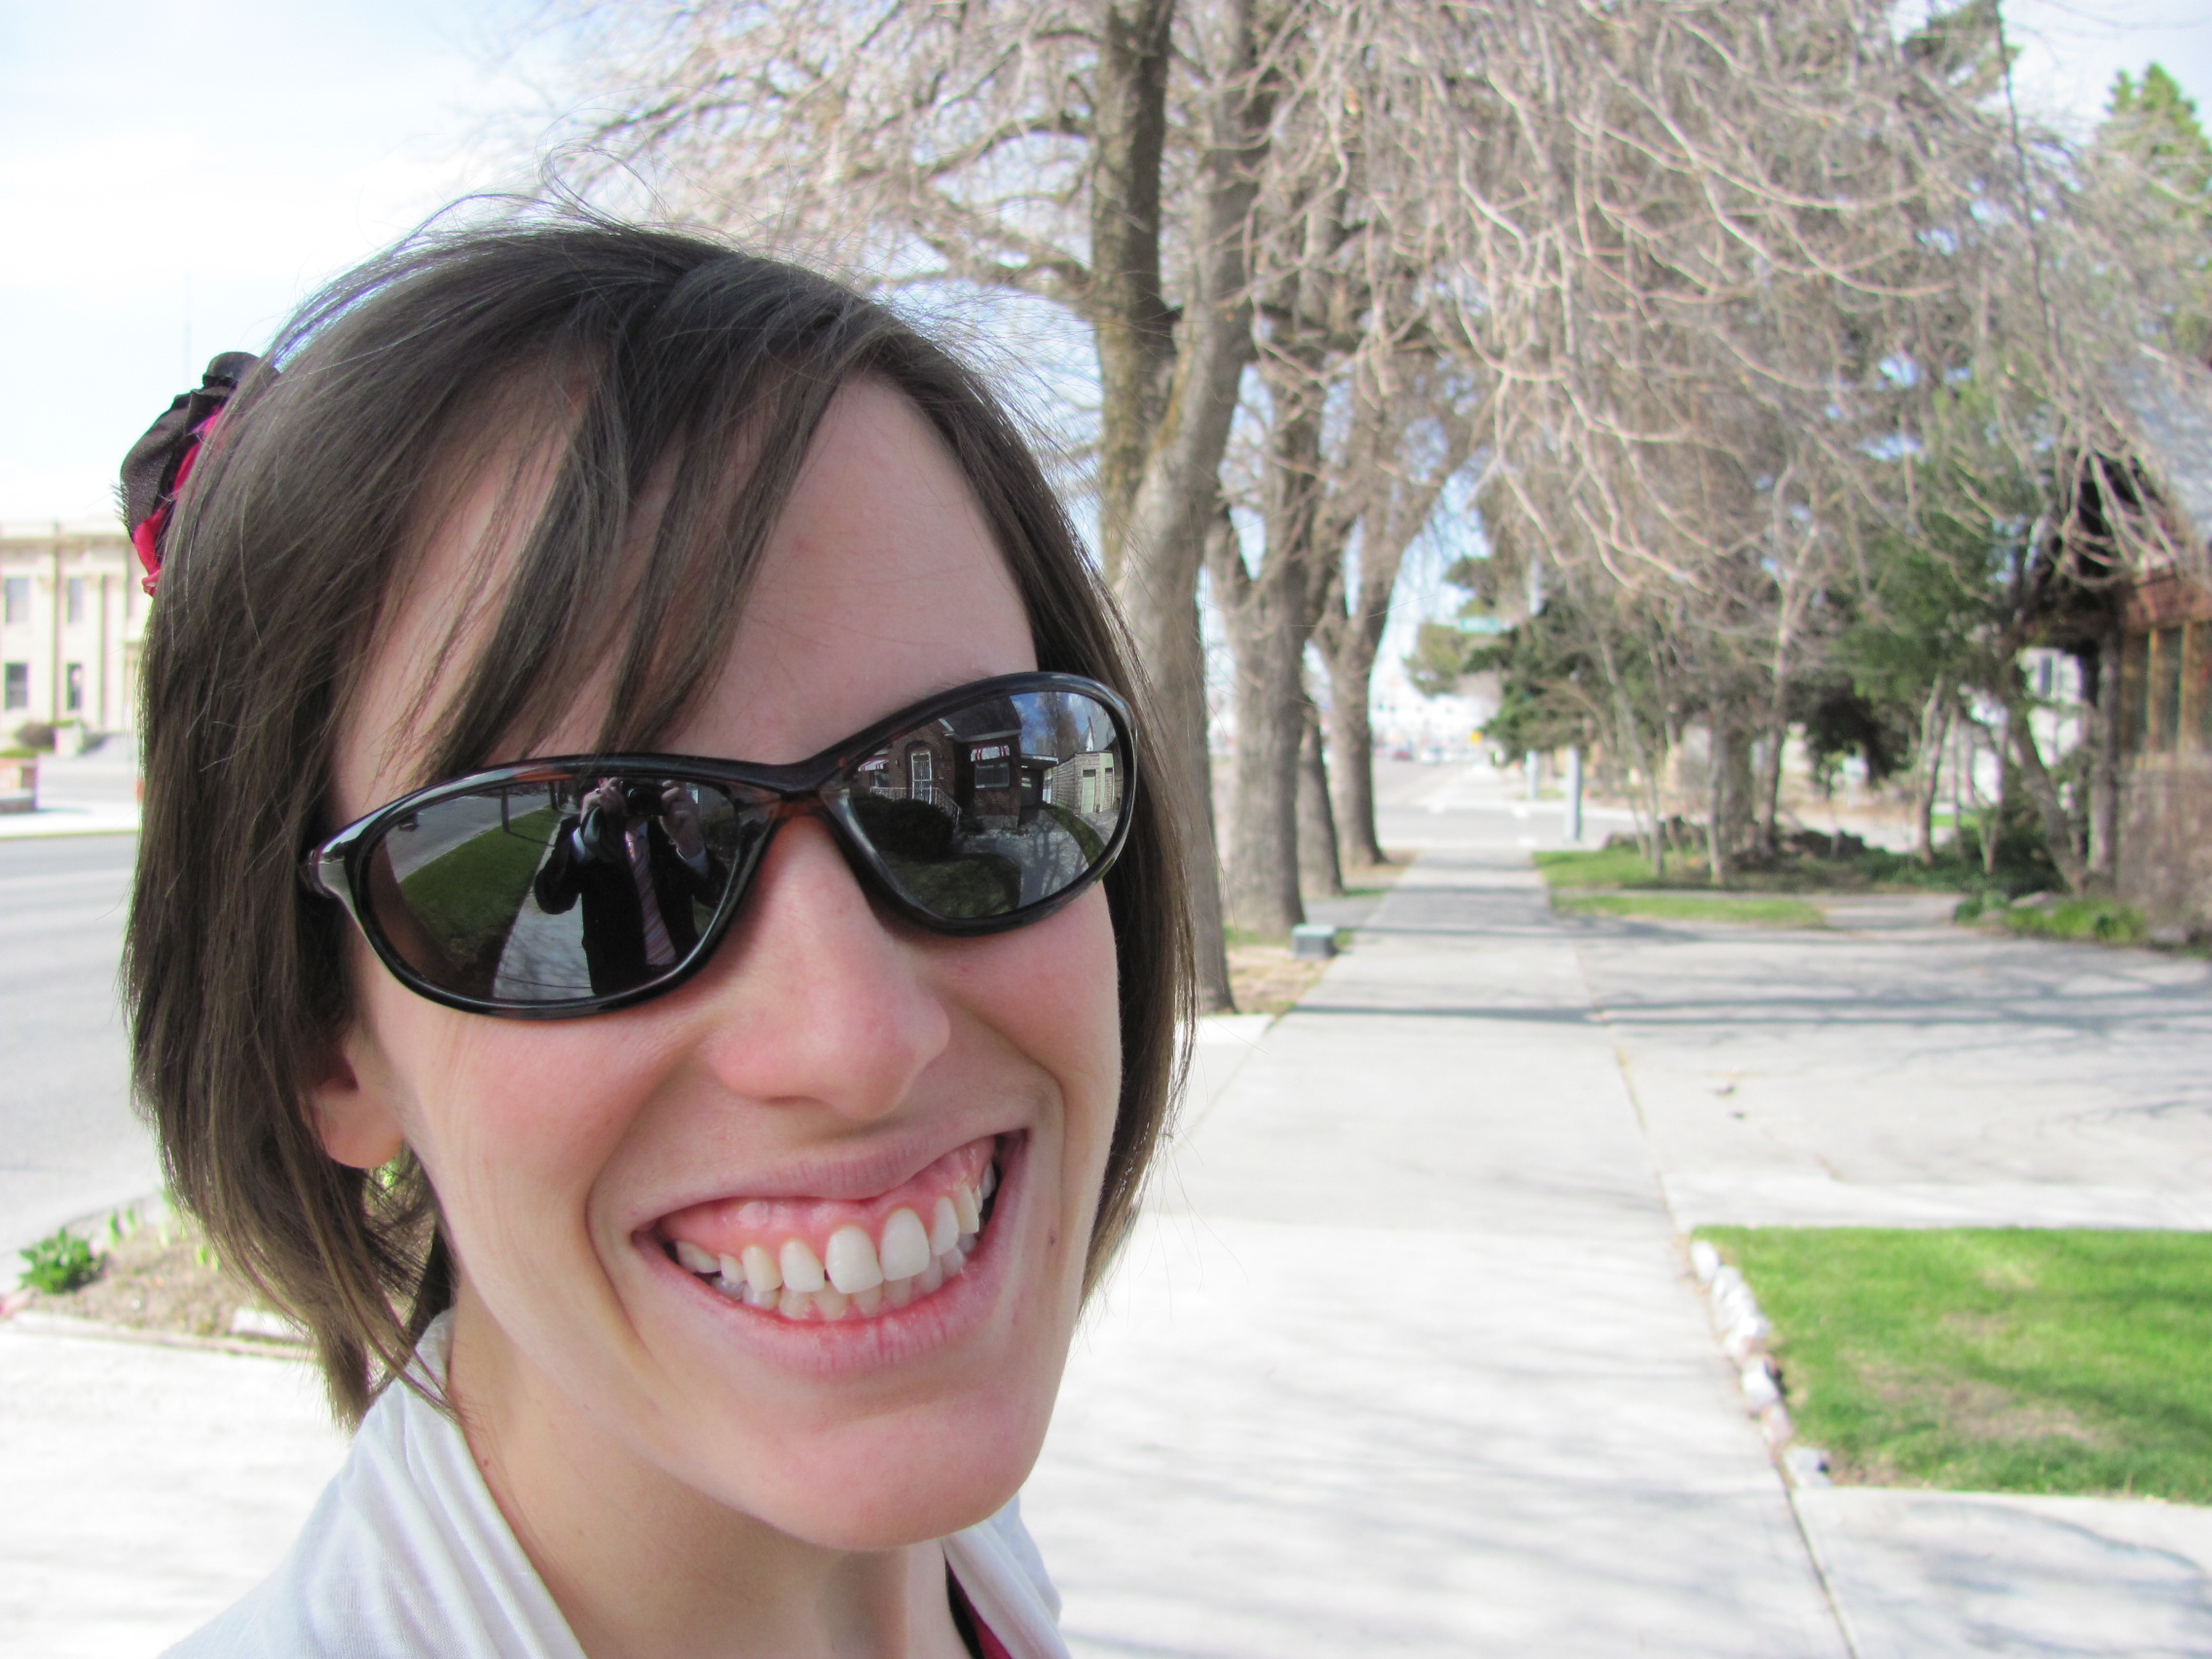
Specs & Process: S 2nd East and Main Street, Rexburg, Idaho; April 24, 2011 4:30 pm f/2.8 Shutter: 1/800 Cannon Powershot SX120 IS
It took me about 10 minutes to enhance this shot. I seperated my subject, Elizabeth, on a seperate layer and applied a black and white adjustment to the background. I used the sponge tool to desaturate some of the nooks & cranies in her hair to match the background. With a simple star brush I painted the stars in on their own layer and applied a title overlay on the top. The font is Moonlight Shadow and is available on Dafont.com.
Part Two: Blending
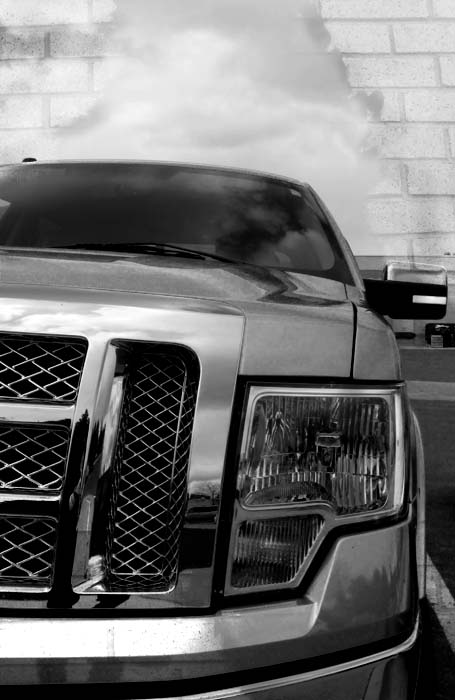
In this exercise, I will take two photographs I took and blend them together in Adobe Photoshop.
Specs & Process:
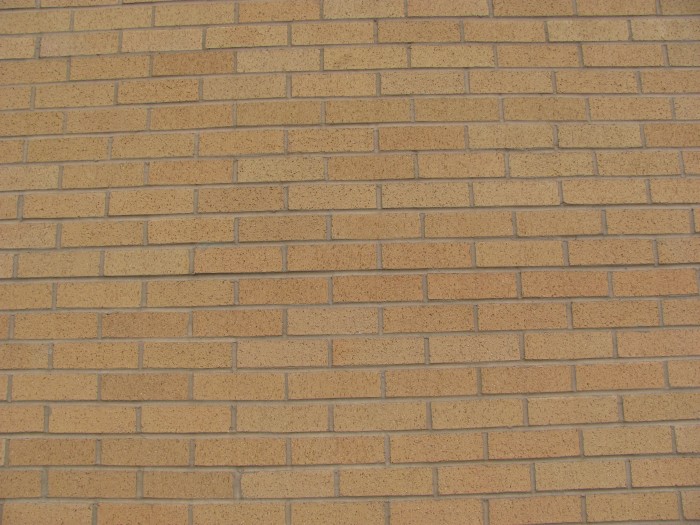
A: Ricks Building South Wall; May 1, 2011, 12:31 p.m. f/2.8 Shutter: 1/640 Canon Powershot SX120 IS
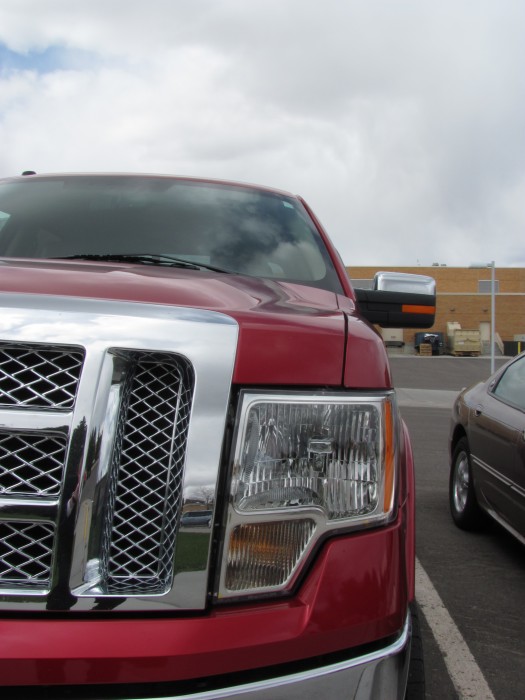
B:Manwaring Center Street Parking, May 1, 2011; 12:17 p.m. f/8.0 Shutter: 1/200 Canon Powershot SX120 IS
I chose a black and white adjustment that really accented the steel and chrome of the truck to give it maximum contrast. I then took the brick texture, laid in over top with an overlay blending mode. I used a mask and a textured brush to take out the brick. I finished it off with the burn tool to add a sort of custom drop-shadow behind the brick.
You must be logged in to post a comment.